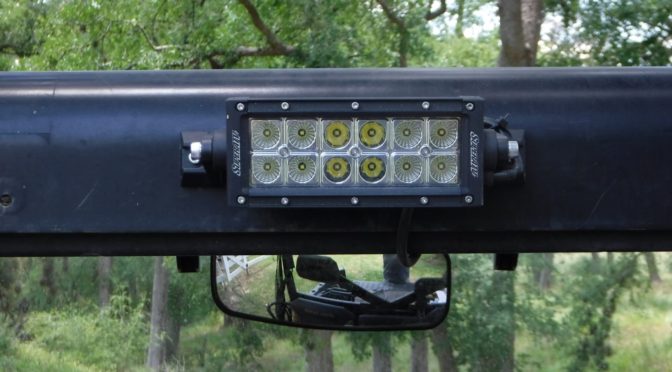
Installation of SuperATV 6″ LED Combination Spot / Flood Light Bar on 2017 Polaris Ranger XP 1000.
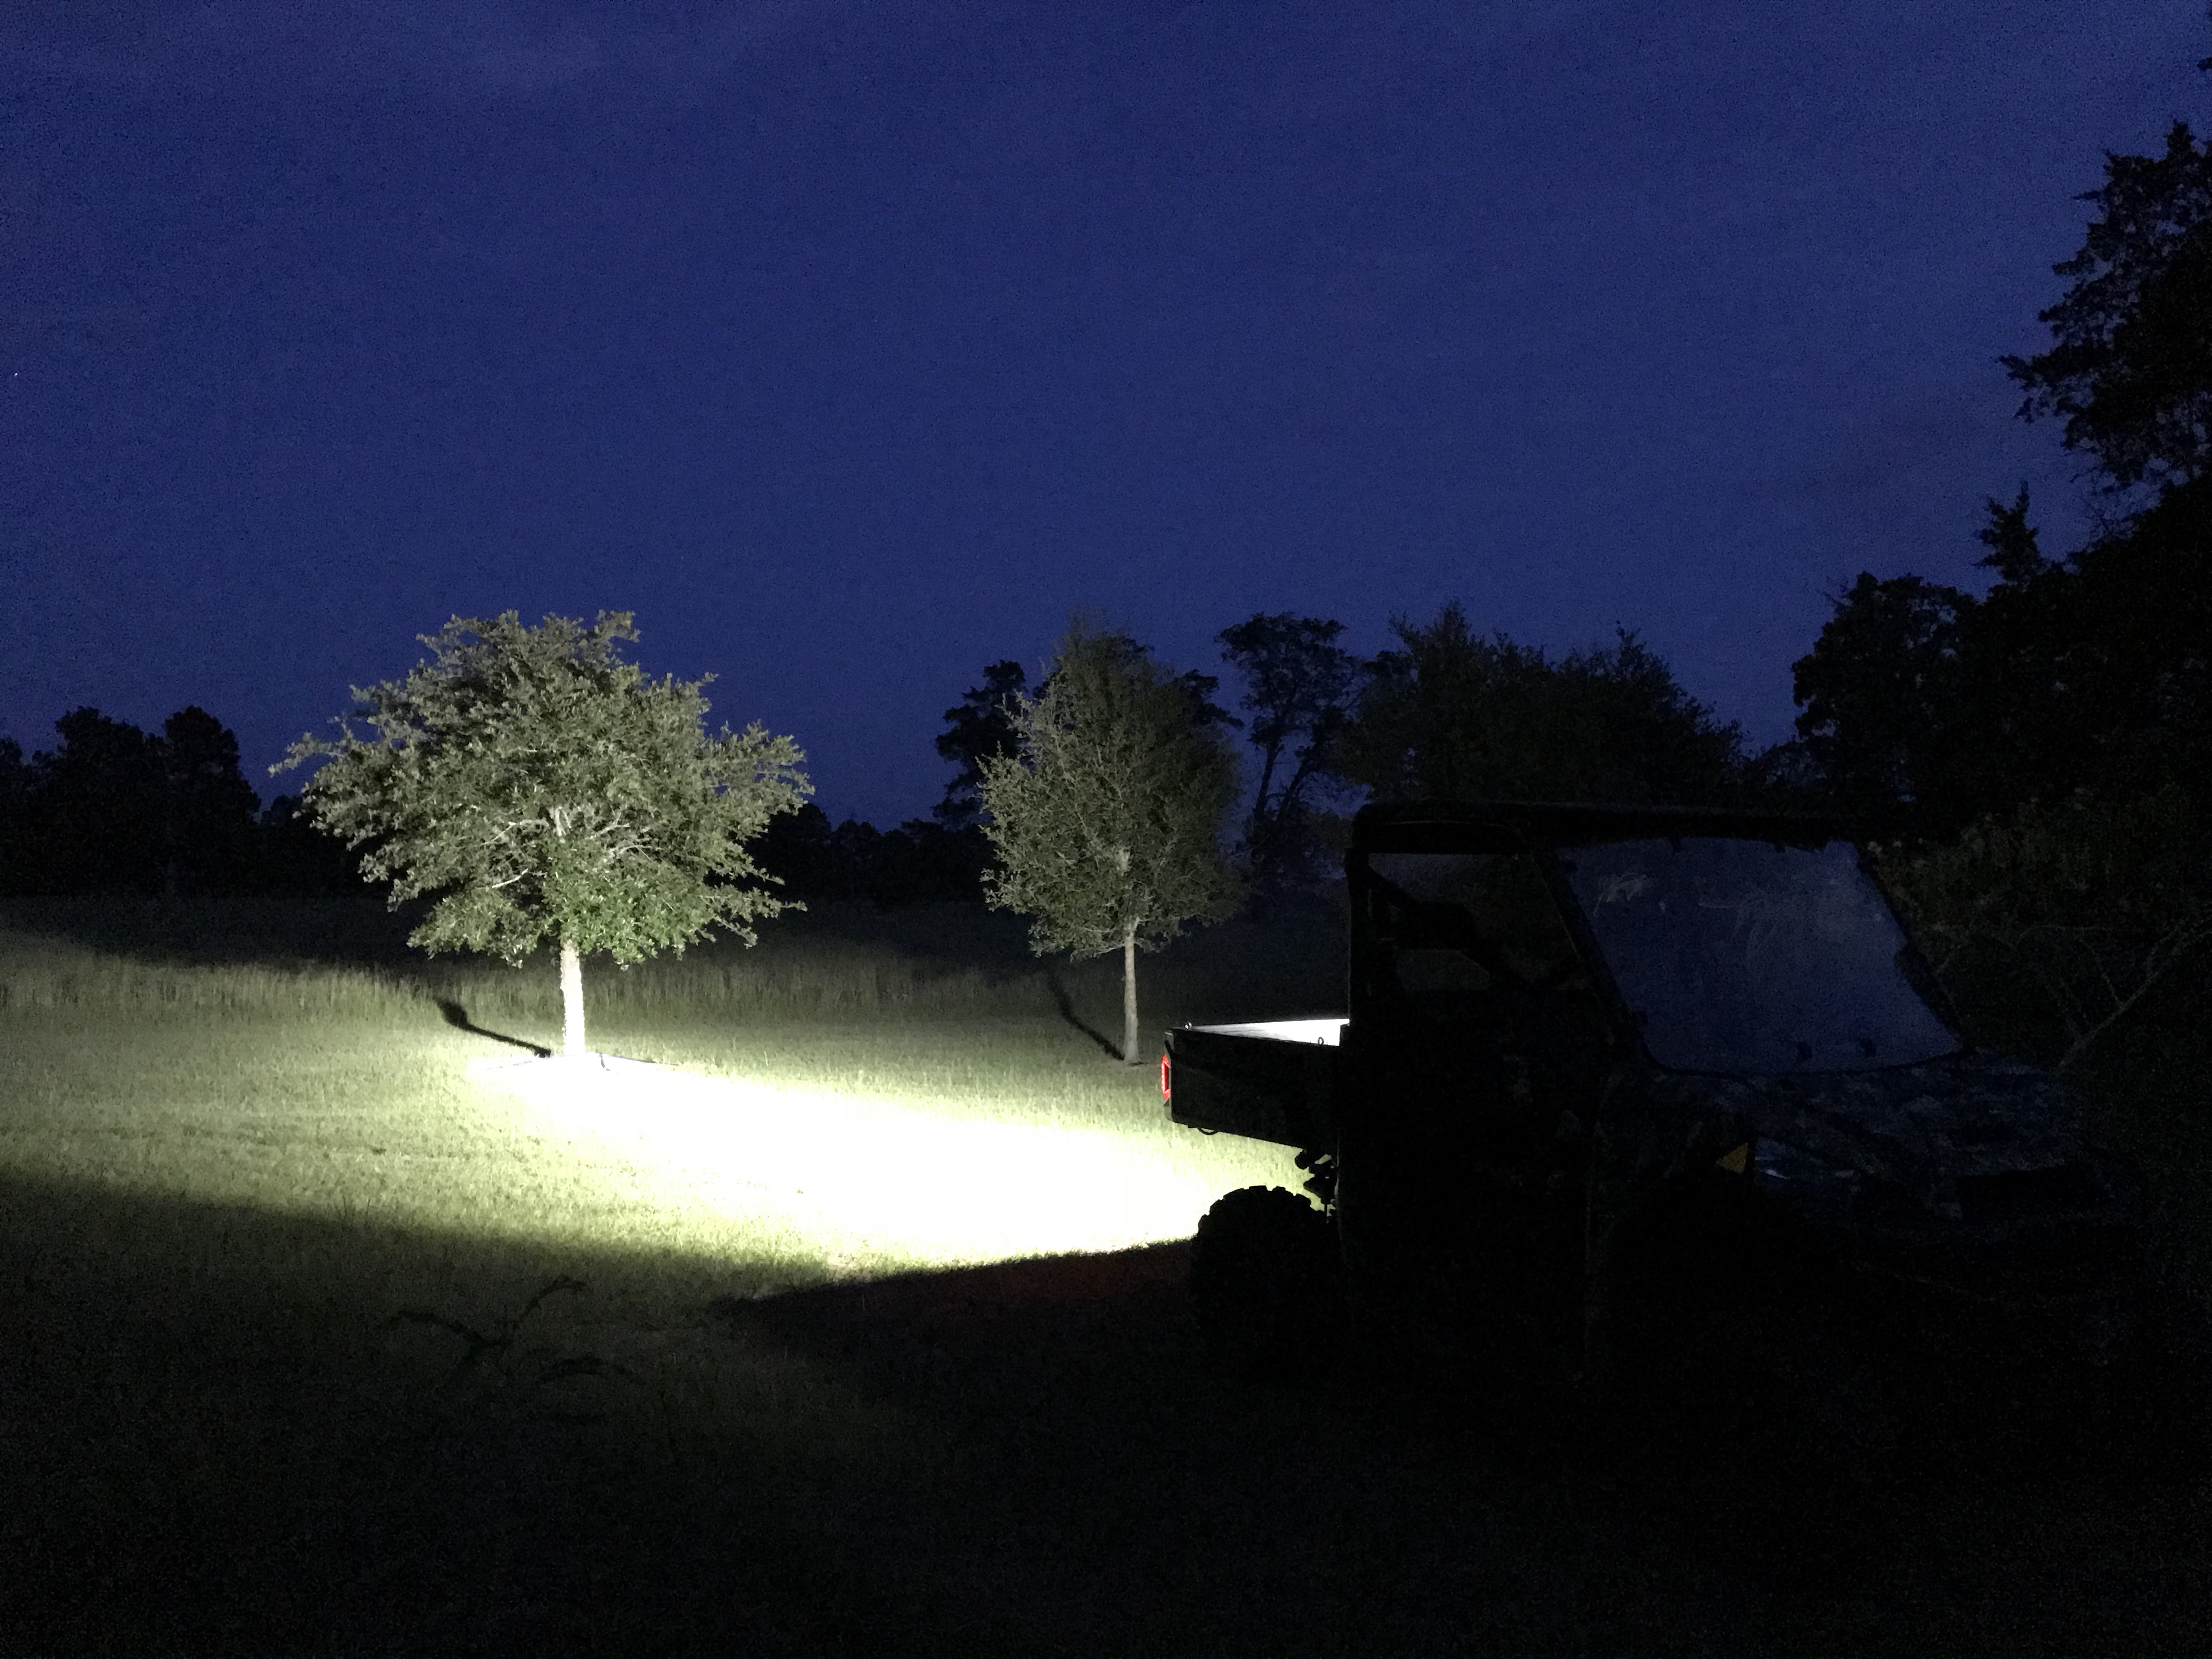
This project kicked off because I wanted to add a cargo bed light to my Polaris Ranger. My initial thought was of a modest solution that would provide just enough light to see what I was doing at night. I’m frequently out at night on the ranch. As I started looking at possible solutions, it quickly became apparent that what I really wanted was not a minimal bed light but a robust work light that could illuminate a camp.
It didn’t take long to settle on the SuperATV 6″ LED light bar.
- Combination Flood / Spot.
- Kit comes complete with rocker switch and wiring harness.
- 12 CREE LED bulbs.
- 2880 Lumens.
- IP67 Water resistant
- MSRP $135.
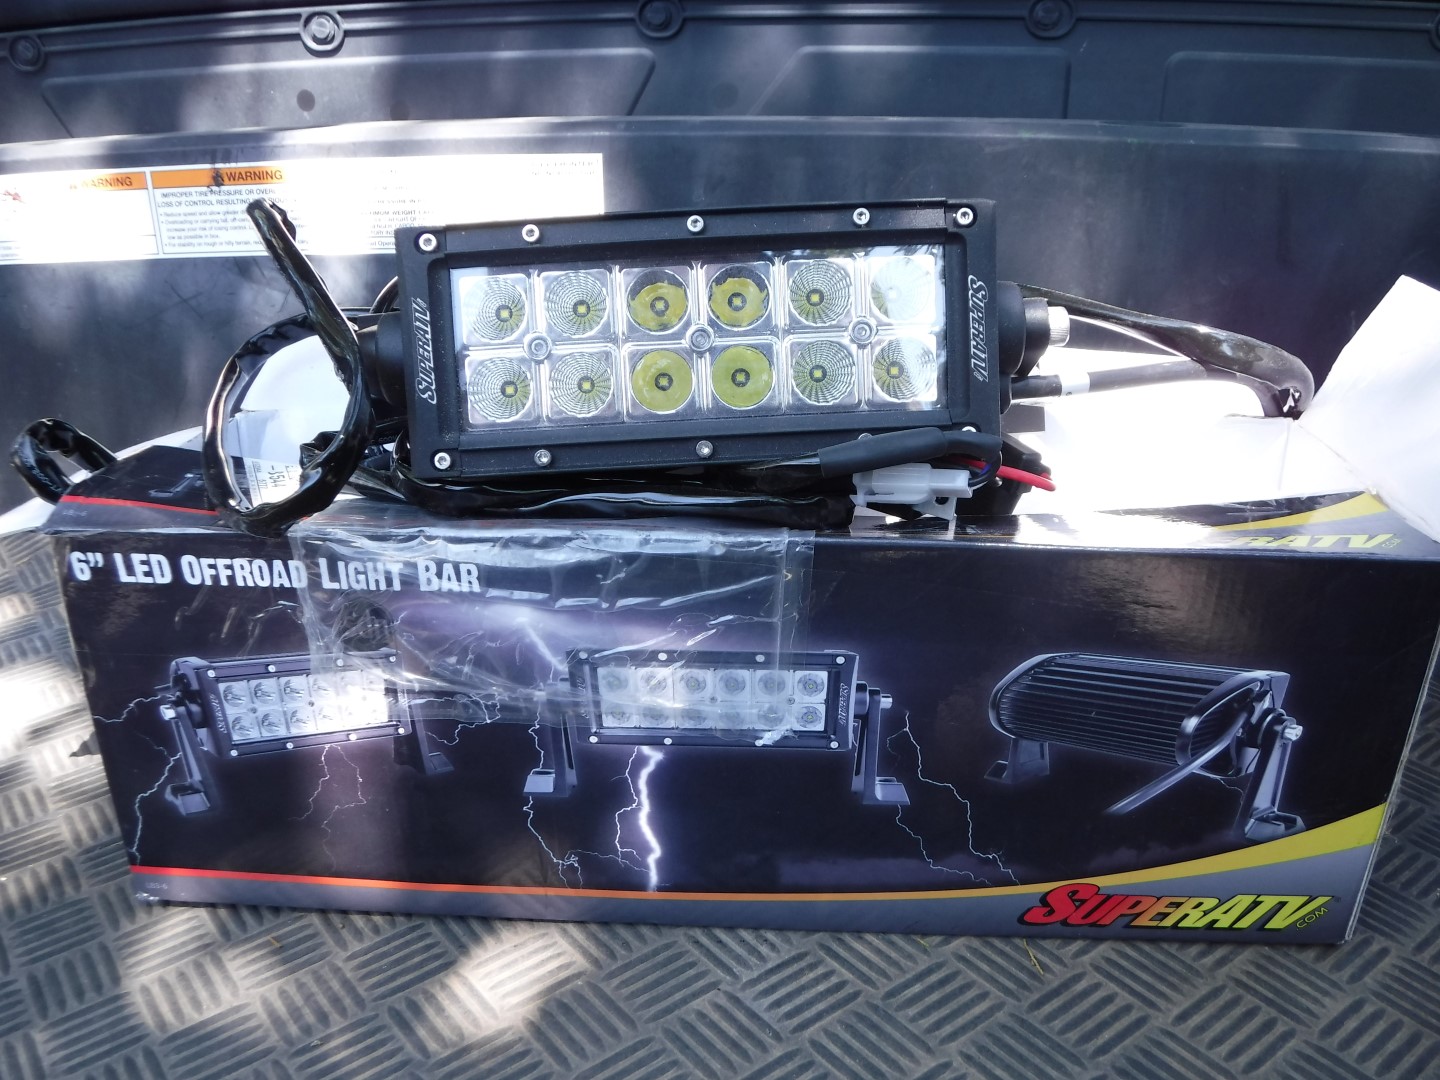
SuperATV 6″ LED Light Bar
I could have pieced together even cheaper options but SuperATV has a great reputation in the UTV community.
As with many projects, this took me longer to complete than anticipated. That is mostly because I am a “measure twice, cut once” kind of guy. I also wanted a clean installation. From beginning to end I spent about 2.5 hours on the job but it could easily be done in half that time (or less). For instance, I had to get the volt meter and confirm the busbar operation.
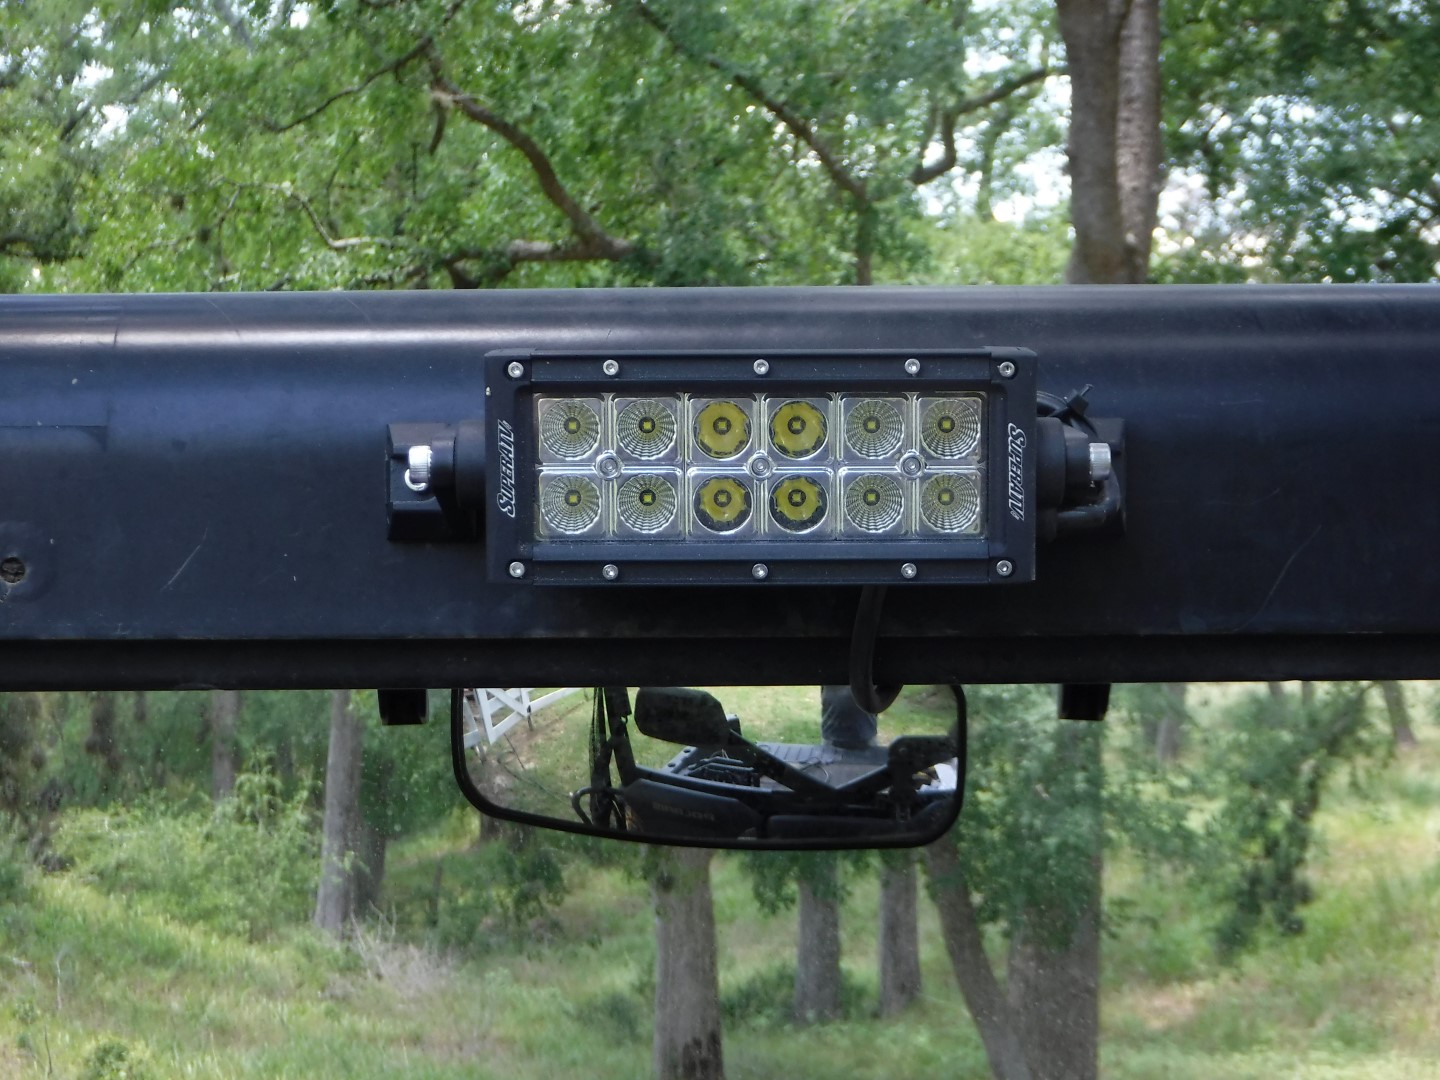
My first step was to mount the light bar. Easy enough. The kit did not include locking washers so I added those. I did not want anything above the roof line so I made sure to position it in a sleek profile.
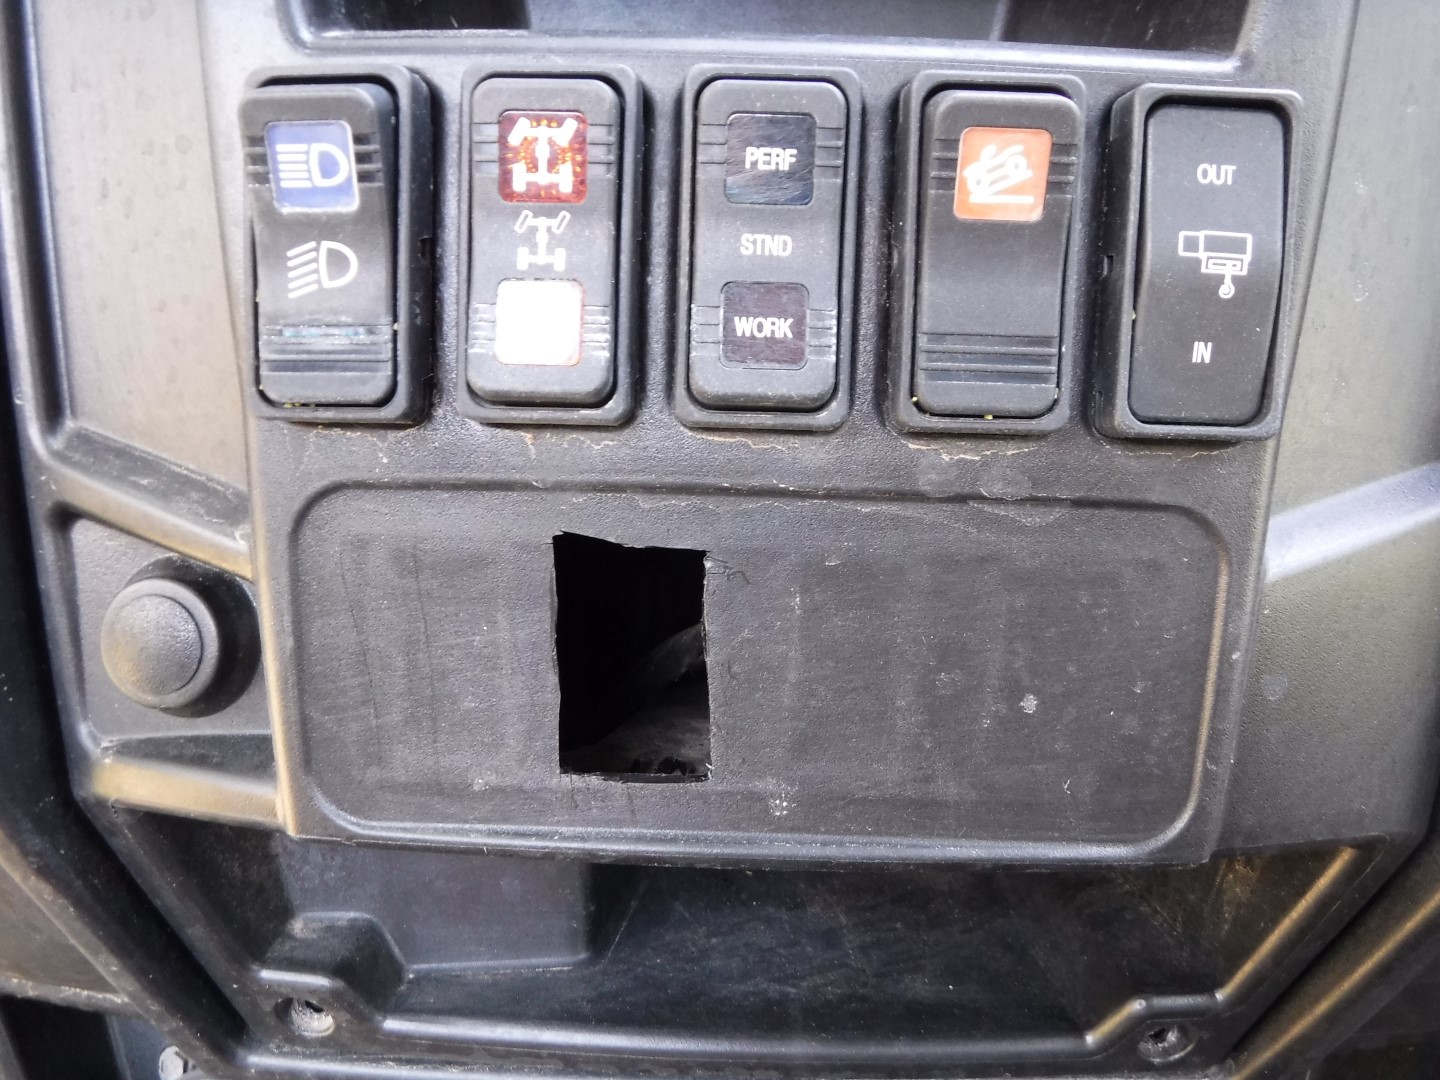
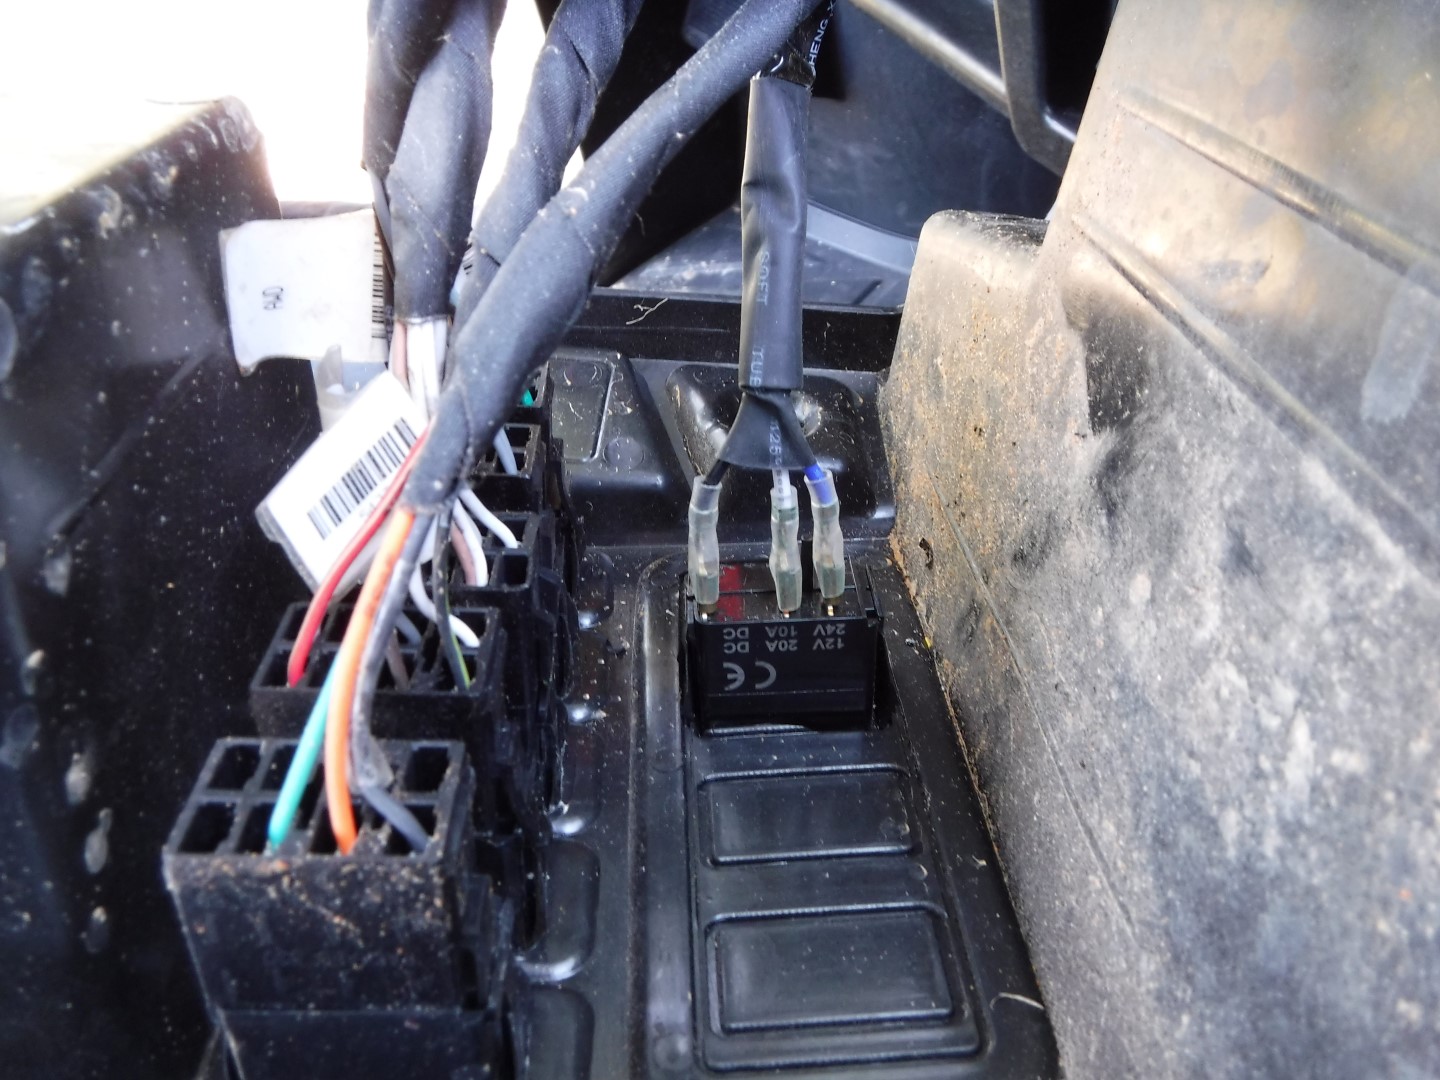
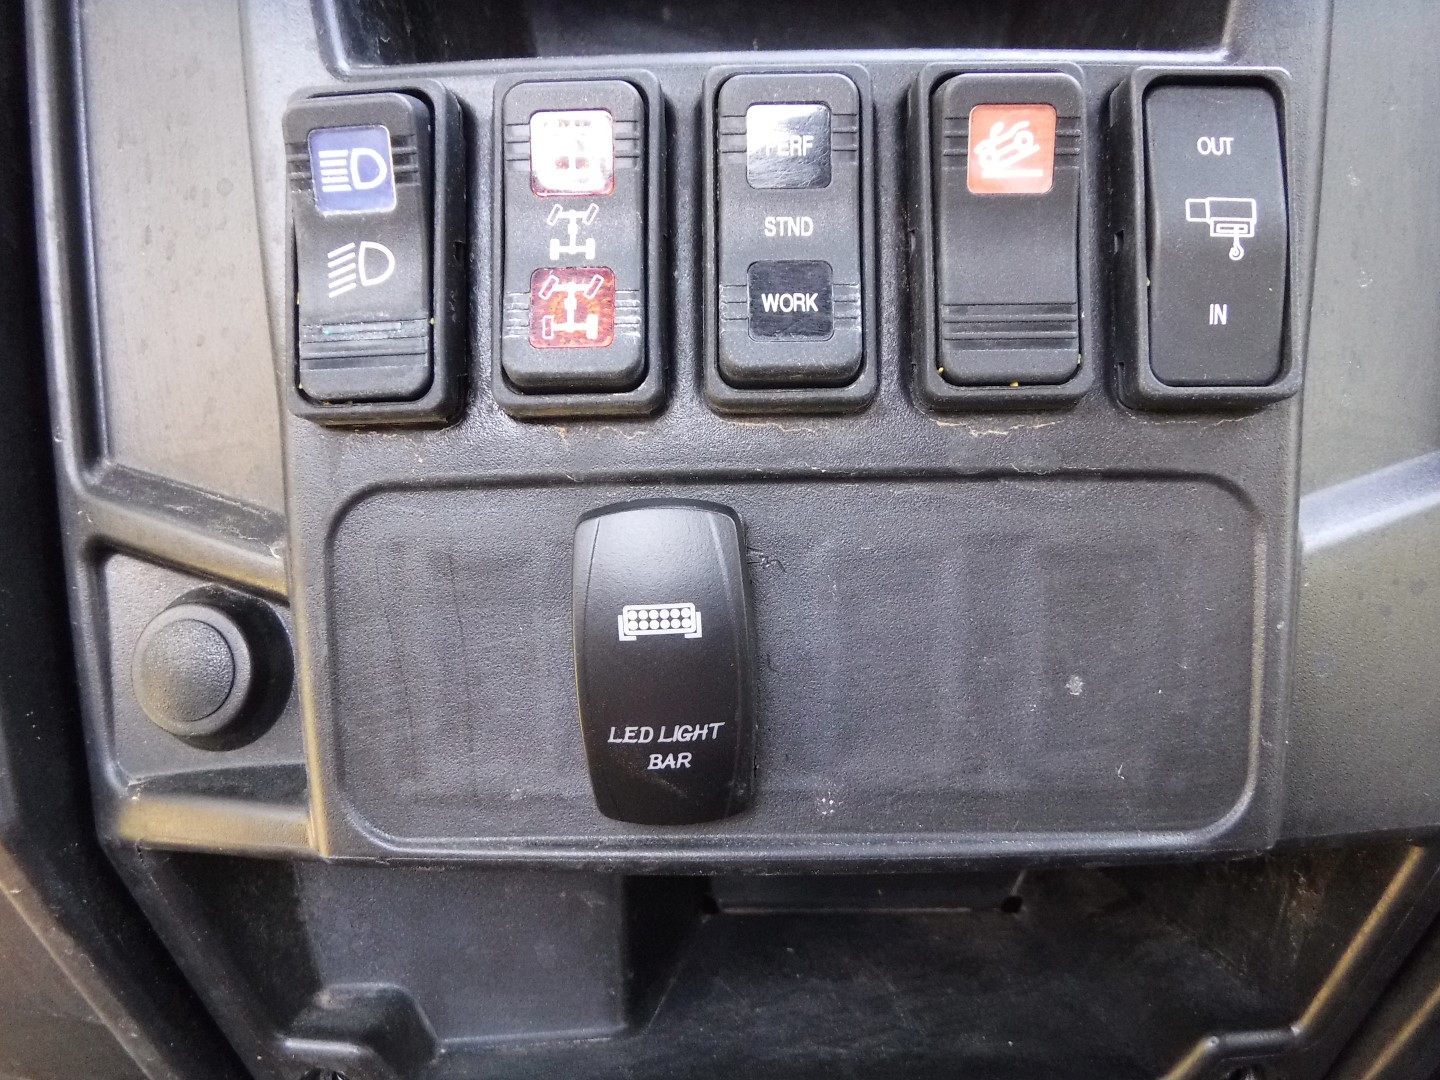
Next was to install the rocker switch. I simply used a utility knife and gradually cut away the opening large enough for the rocker switch to snap into place.
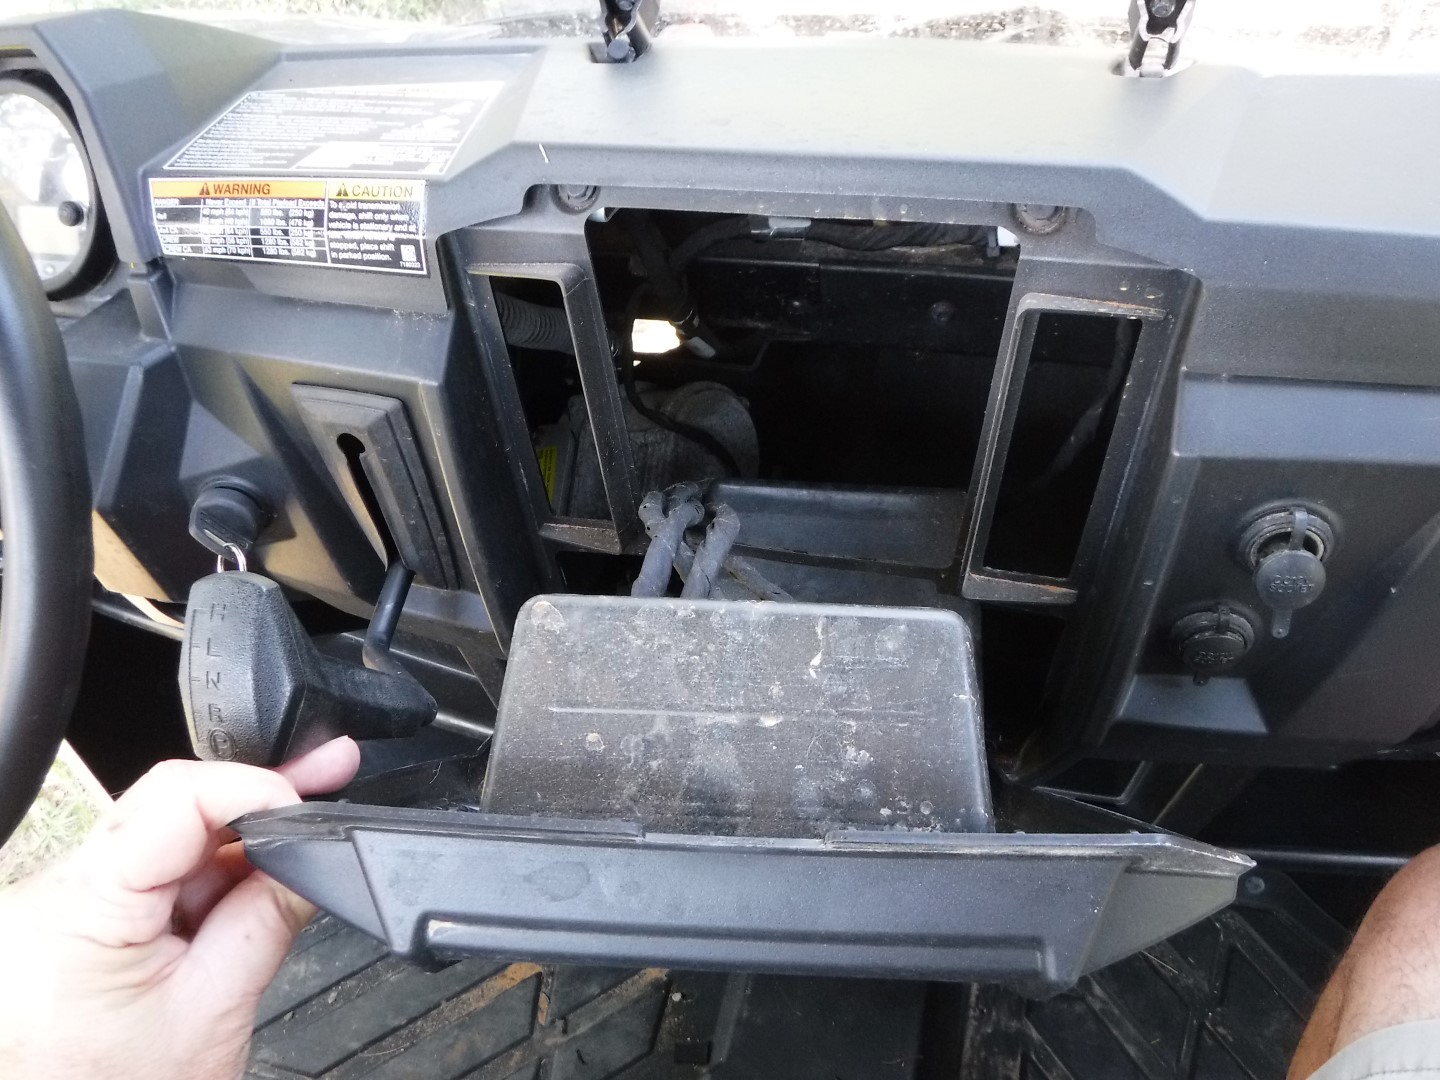
I then removed the bottom two screws from the center panel and pulled it down, then out to get at the wiring. I ran the wire through the firewall and made the connections. Bolted it back up.
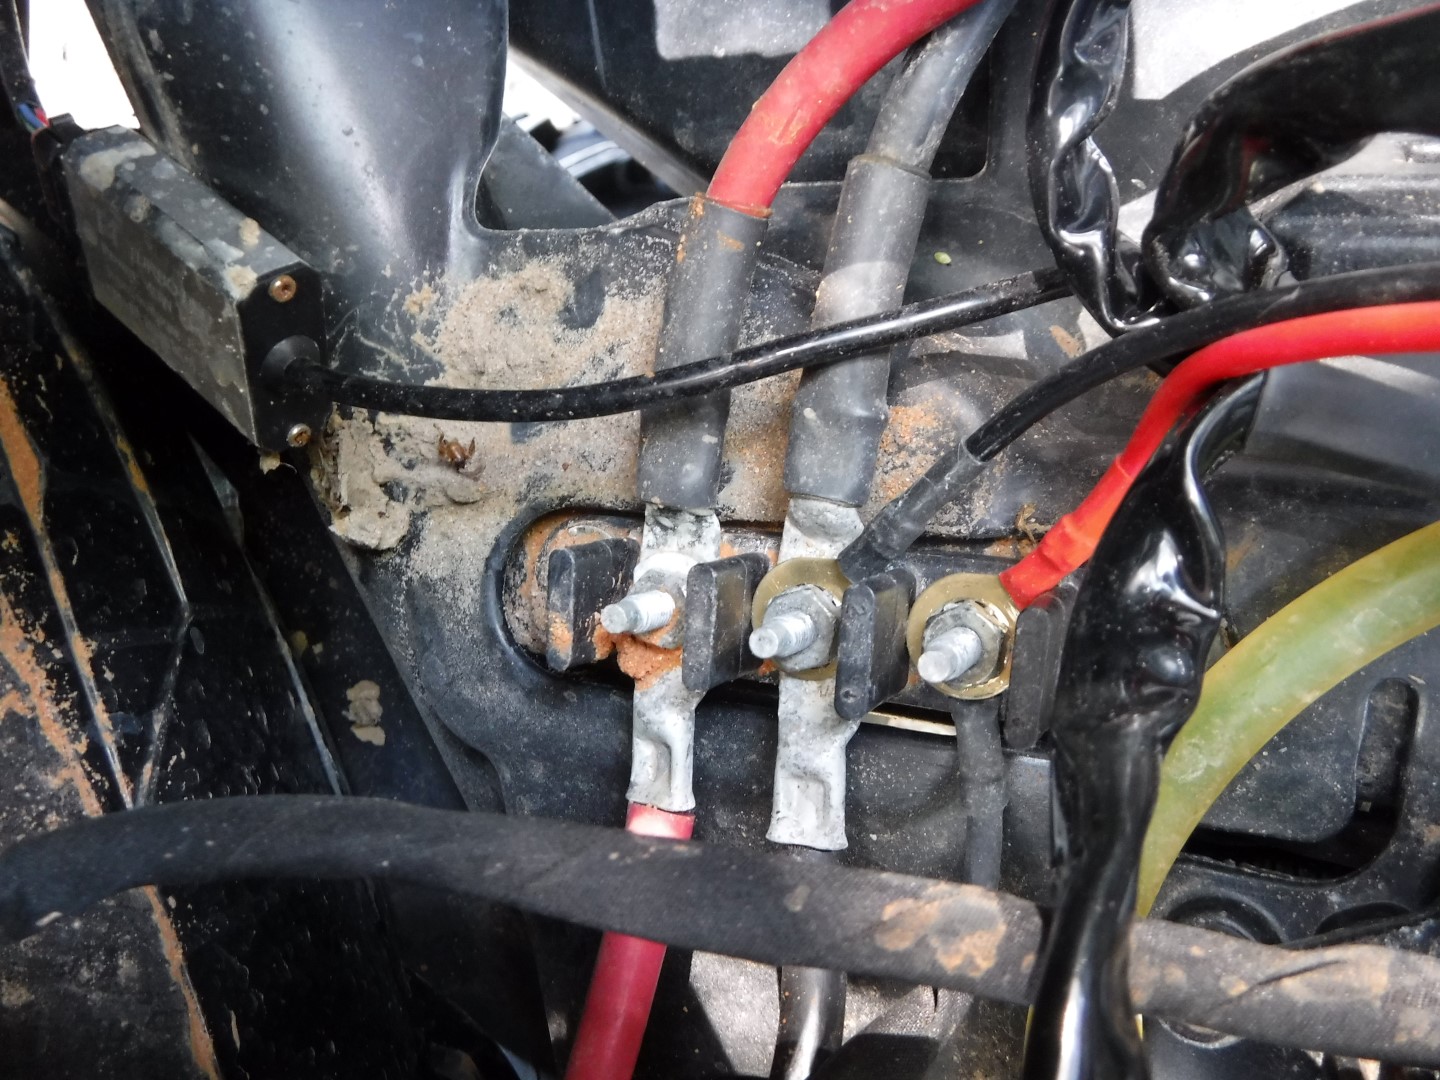
My 2017 Polaris Ranger XP 1000 Hunter Edition comes with a factory installed winch. The side benefit is that means the under hood busbar is already wired hot. Using a volt meter, I determined that the posts were Hot – Ground – Switched Hot (left to right). I mounted the relay to the frame. Black wire to Ground and Red wire to the Switched Hot.
My biggest concern was how to run the harness from the hood to the light bar. Ideally I wanted to run it inside the frame but then determined I could make a fairly neat installation by running the wire under the windshield and inside the metal roof. Zip tied everything up neat and tight and installed the windshield.
All in all, very pleased with the installation. The light is fantastic and is exactly what I want.
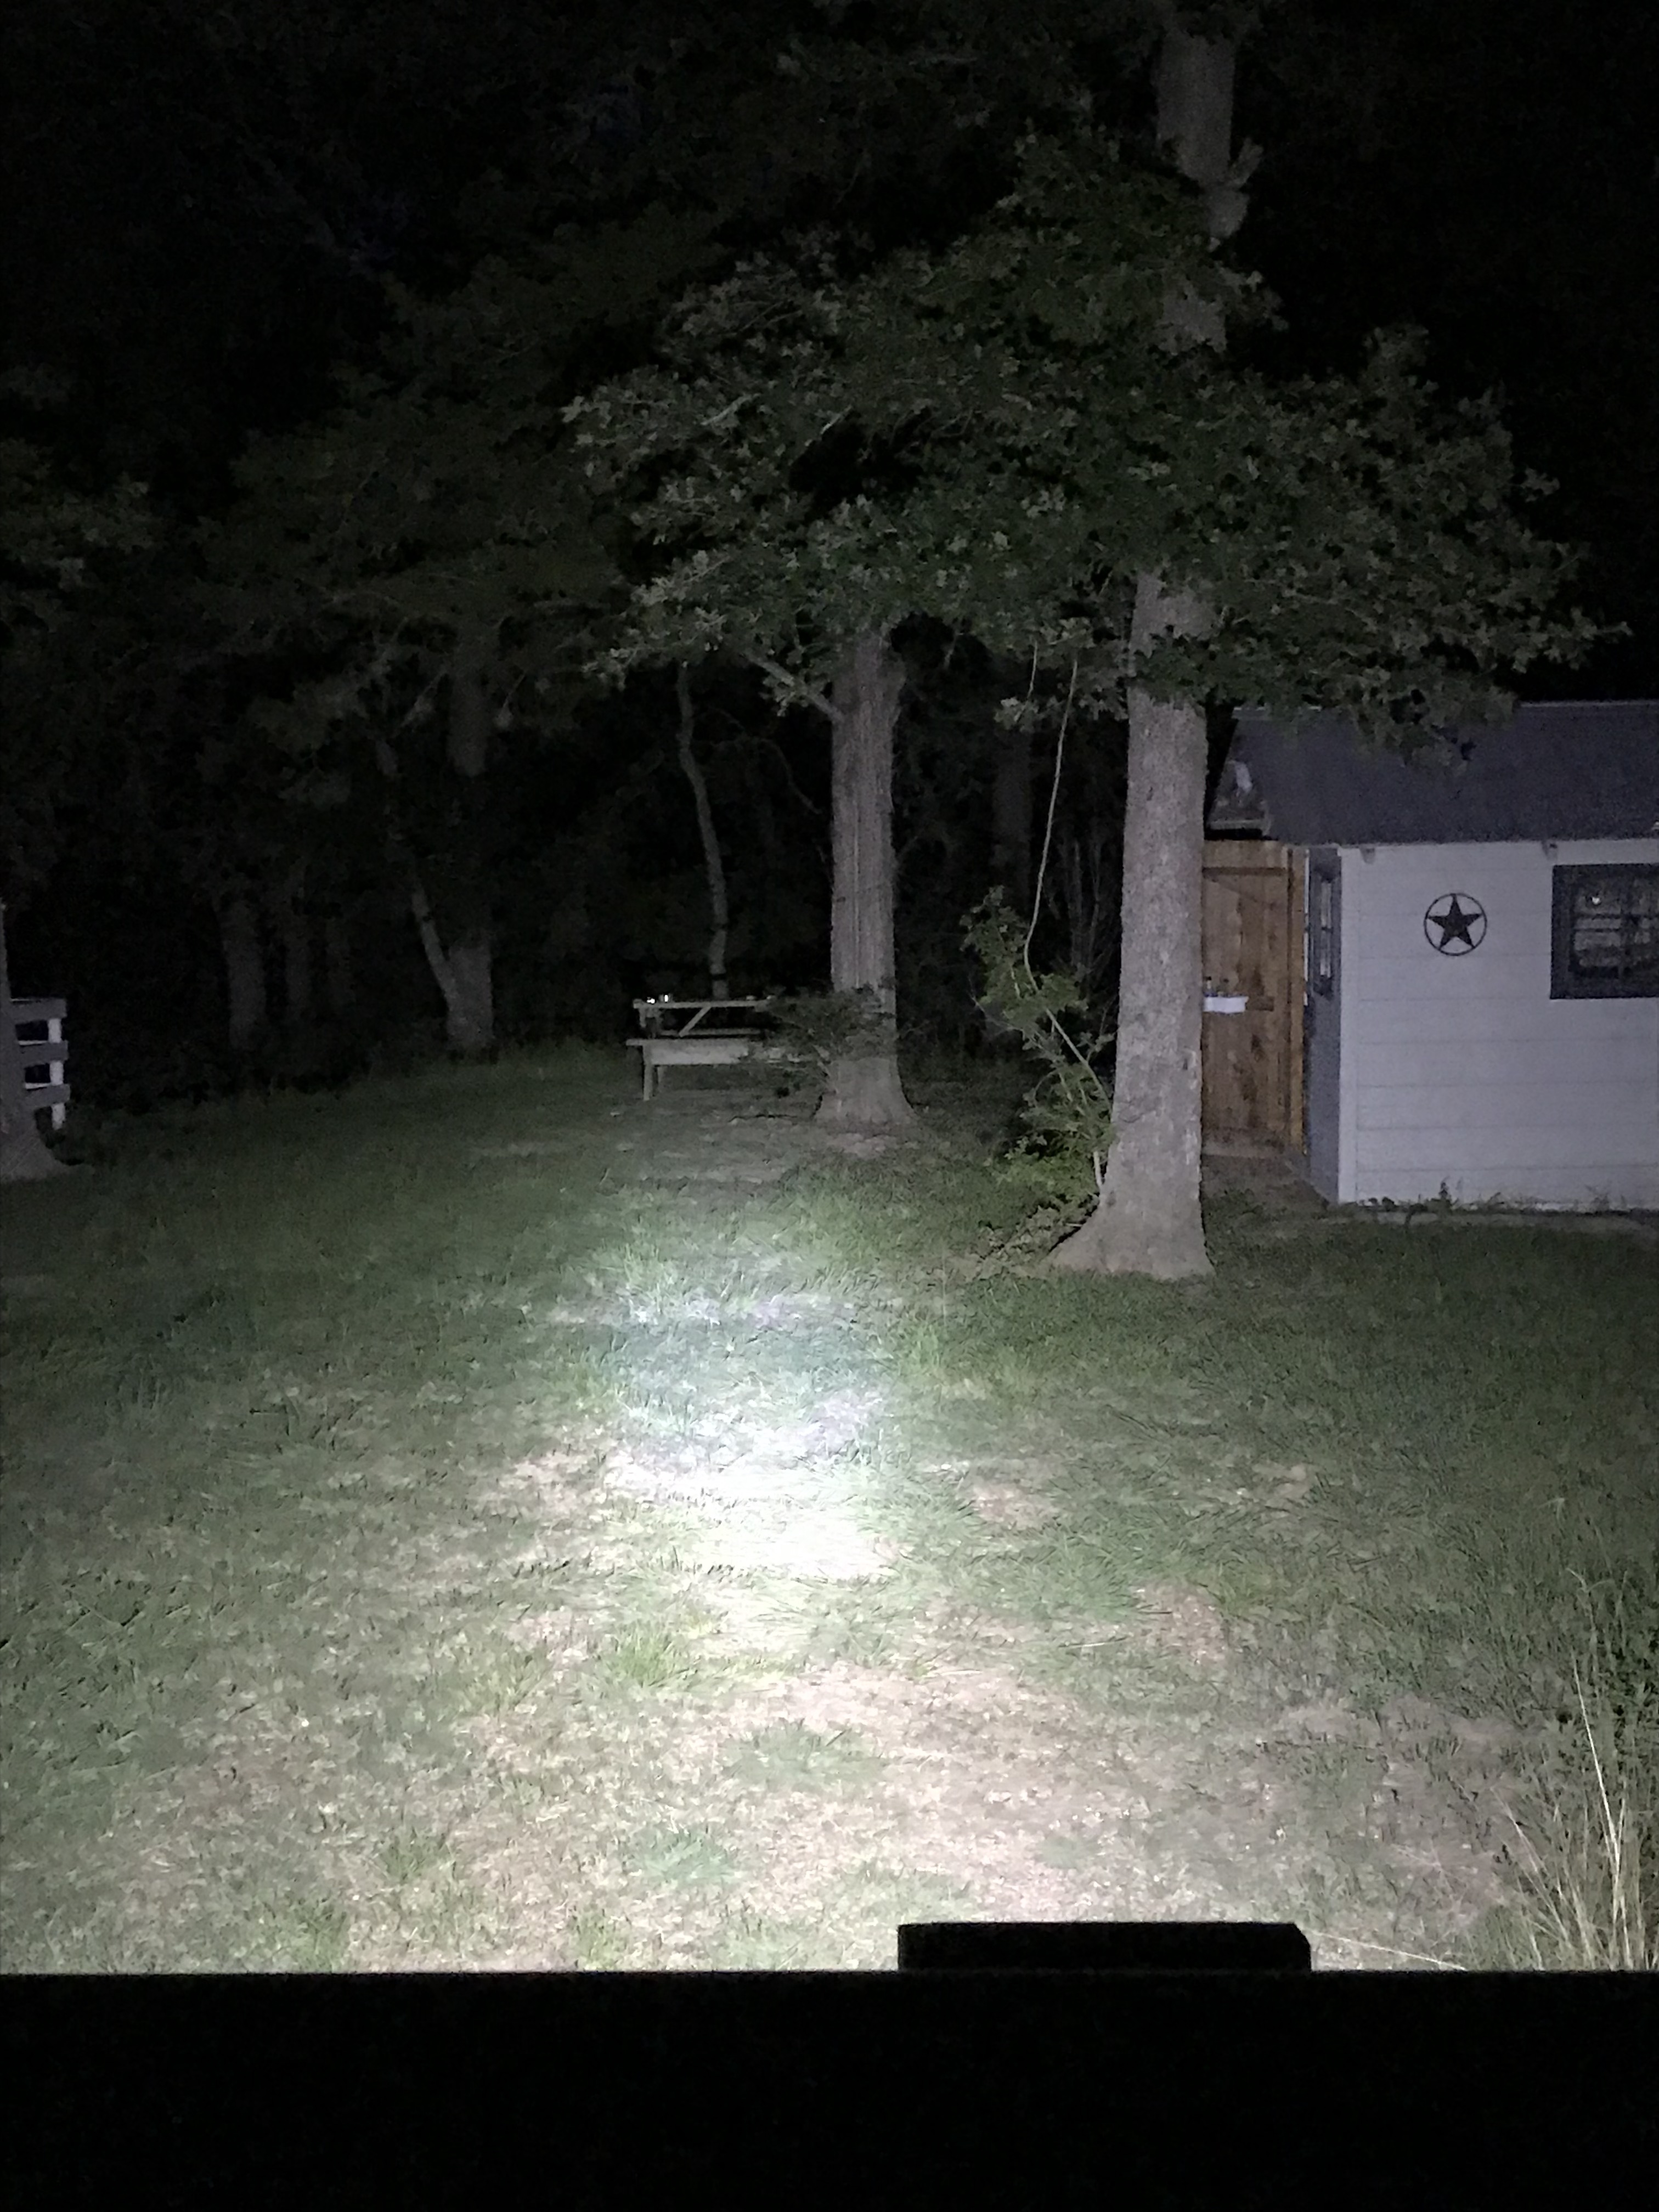
SuperATV 6″ Light Bar
Latest posts by Mike Coker (see all)
- The Critter: Old-school flats skiff! – May 25, 2025
- Pros and Cons of Different Off-Road Traction Boards – May 23, 2025
- Old Duck Bands and Calls – April 25, 2025
Leave a Reply