Category: Hunting
-
Hog Hunt with Cold Steel
Hog Hunt with Cold Steel You might thing that the knife shown in the above photo was used for skinning the hog. In this case, that was the weapon used for the kill on a hog and knife hunt. When I first learned of an opportunity to take my daughter on a dog and knife…
-

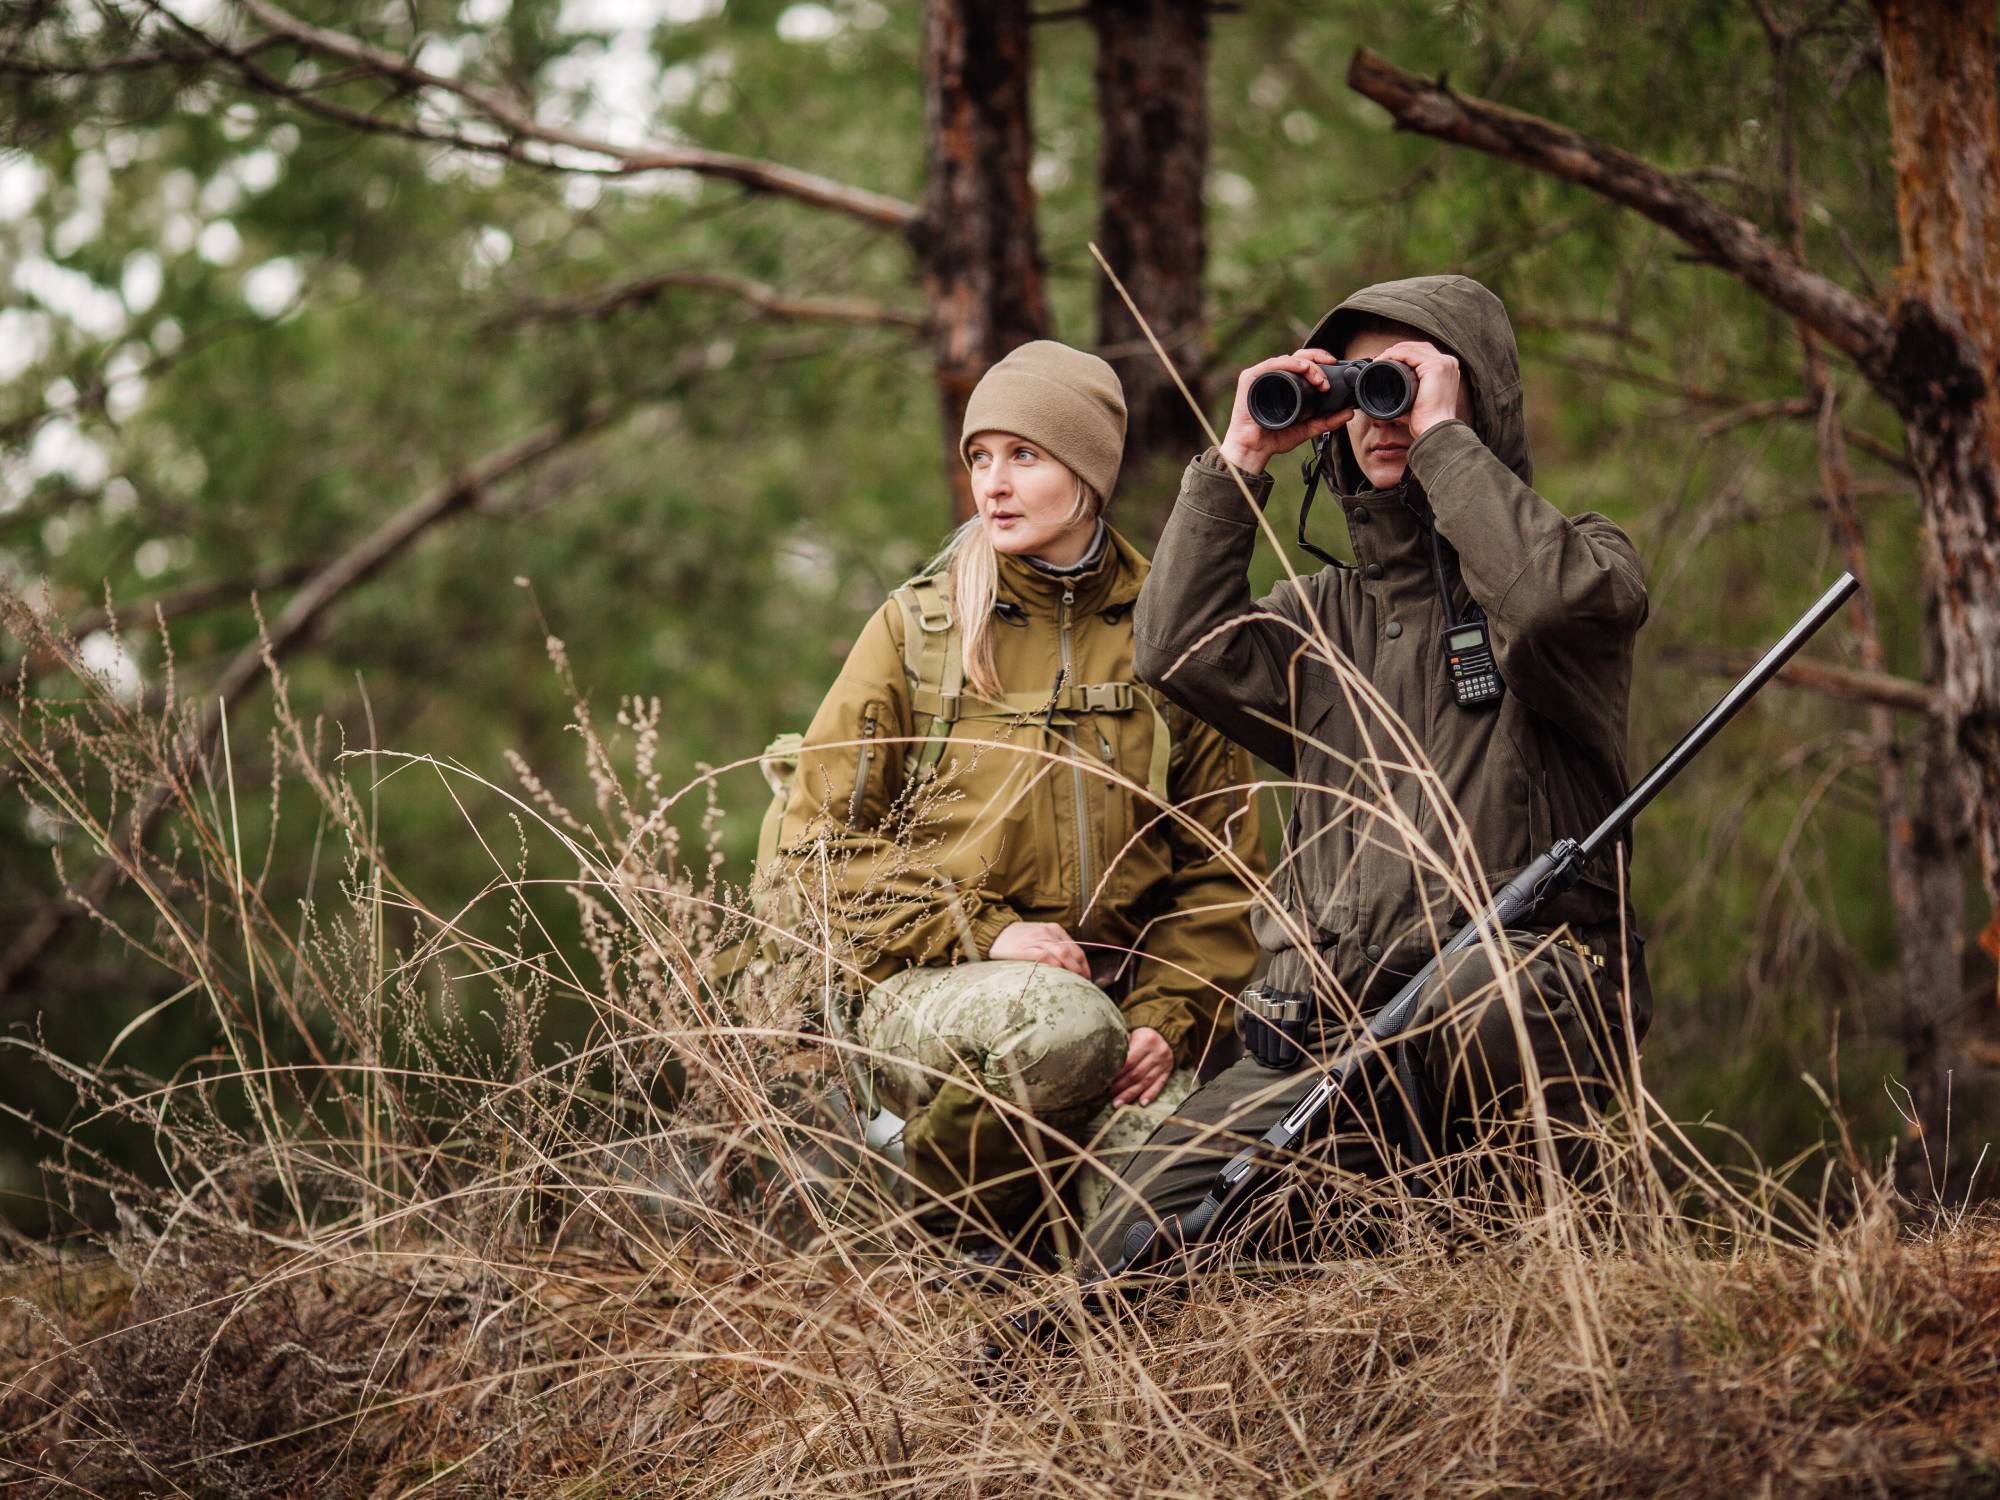
5 Ways You Can Improve Your Hunting Skills in 2026
Want to bag more game this season? Here are practical tips to sharpen your aim, master your gear, and boost your success in the Texas field.
-

4 Reminders Before Texas’s General Hunting Whitetail Season
November 1st will be here before you know it. That means that for both the North and South zones, whitetail season is nearly here. Make sure you’re ready.
-
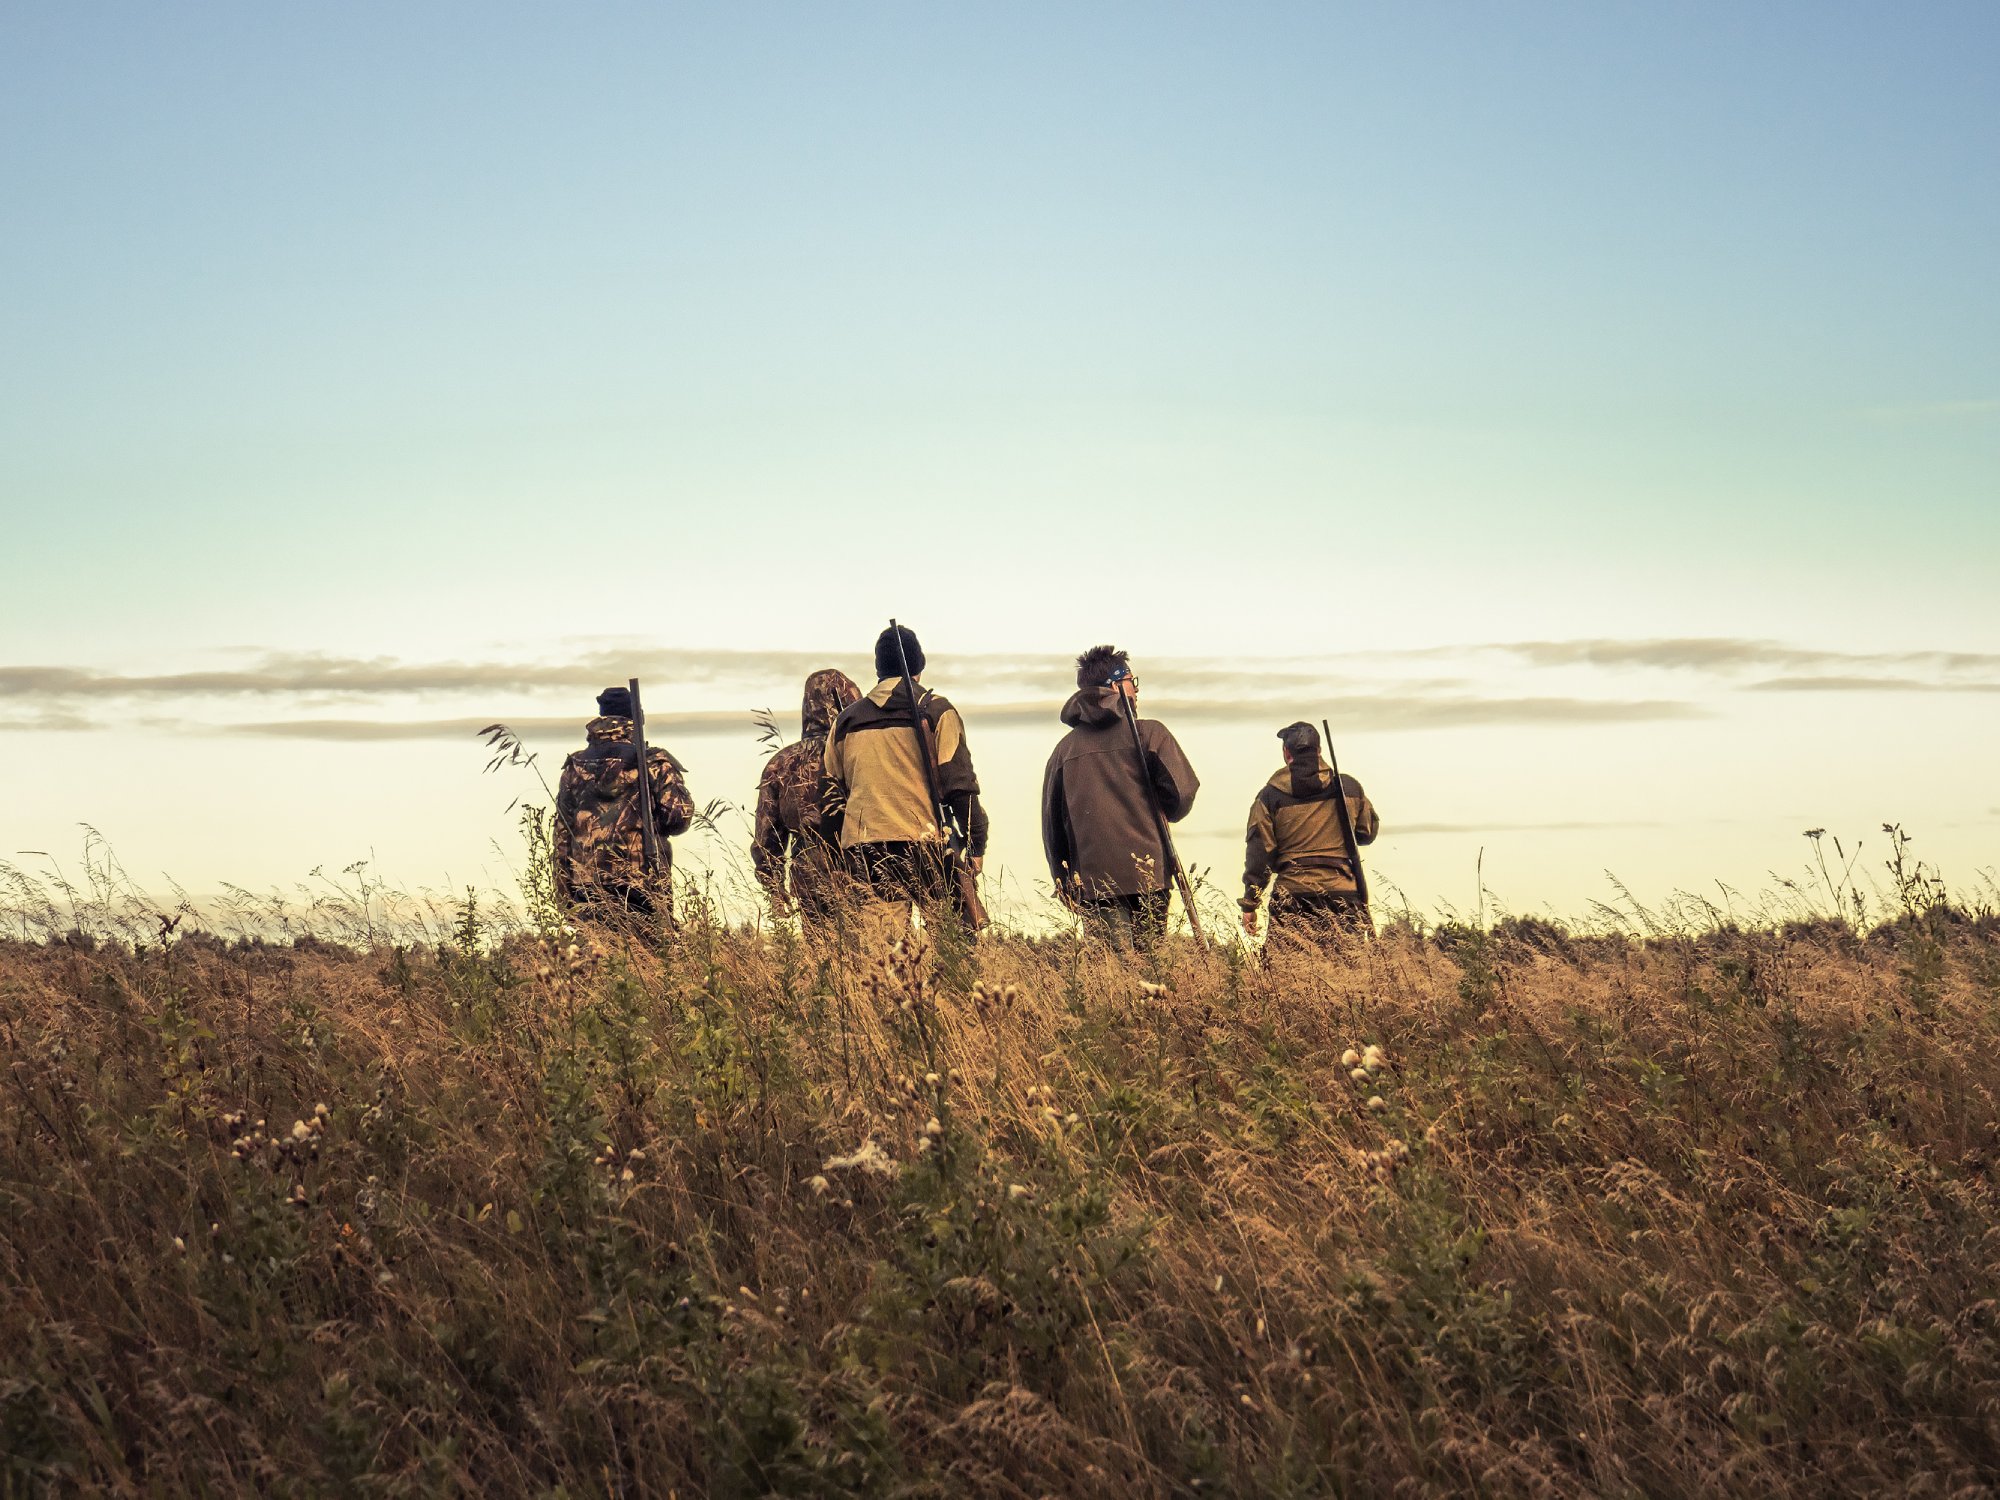
How To Plan a Hunting Weekend With Friends
Plan the ultimate hunting weekend in Texas! Whether you hunt deer or wild hogs, enjoy the thrill of an unforgettable adventure with friends in the wilderness.
-
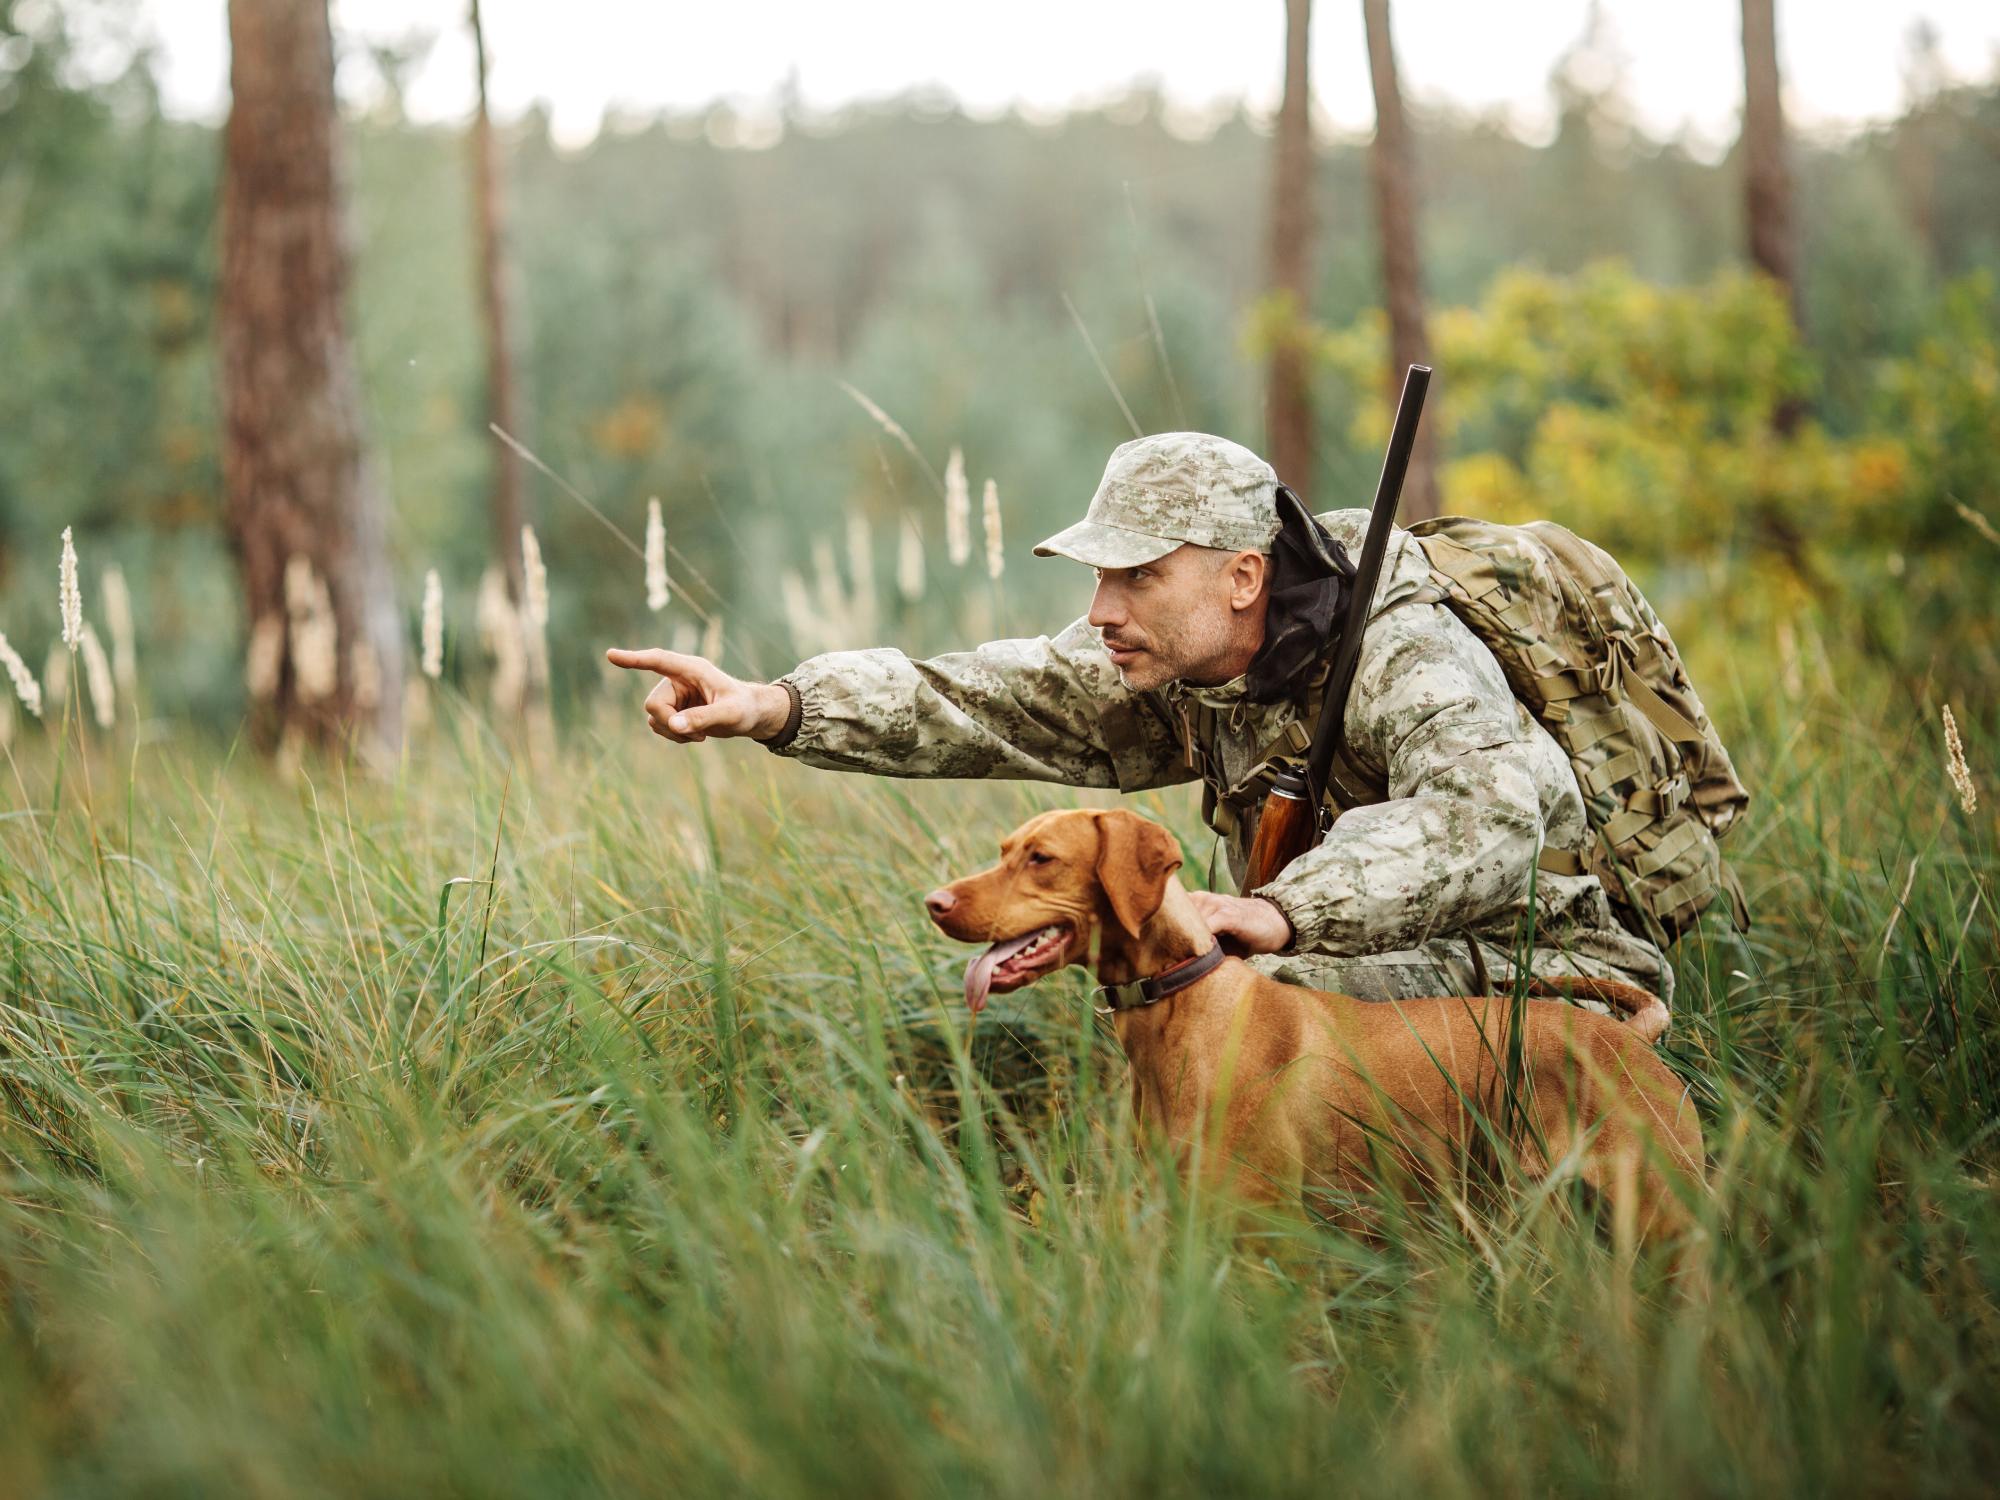
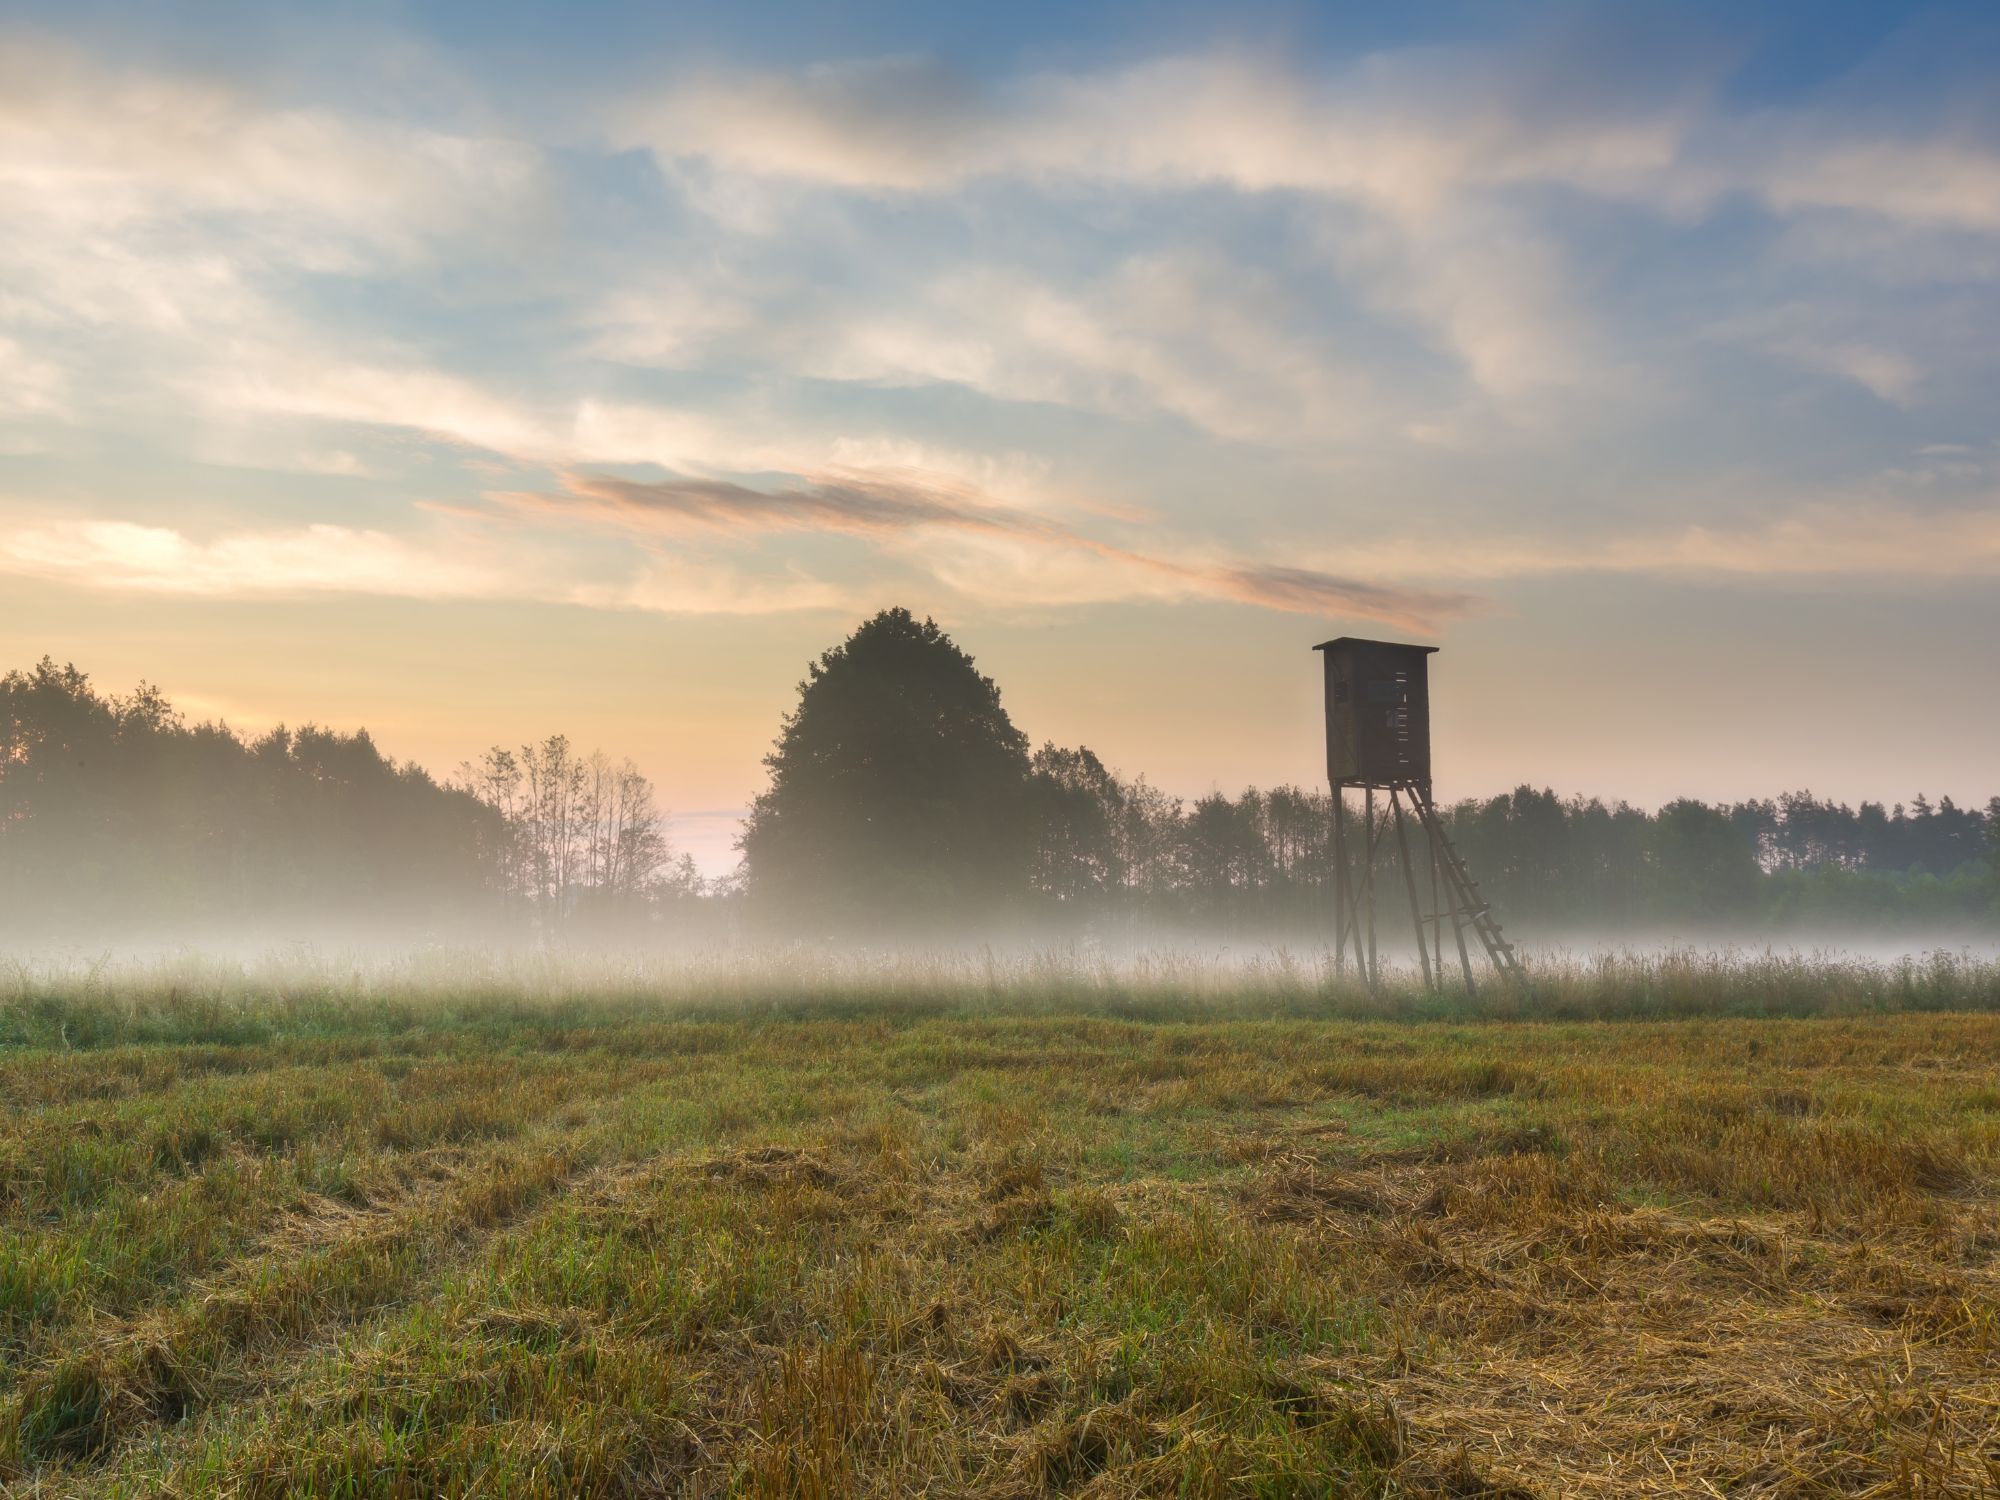
Varied Terrain Hunting: Scouting New Locations
Take the opportunity to challenge yourself and test your limits by hunting across varied terrains. Be well prepared as you scout for exciting new adventures.
-
How To Fall in Love With Hunting Again This Season
Reignite your passion for hunting season again by taking a trip, upgrading your gear, or making community connections that will enrich your experience.
-
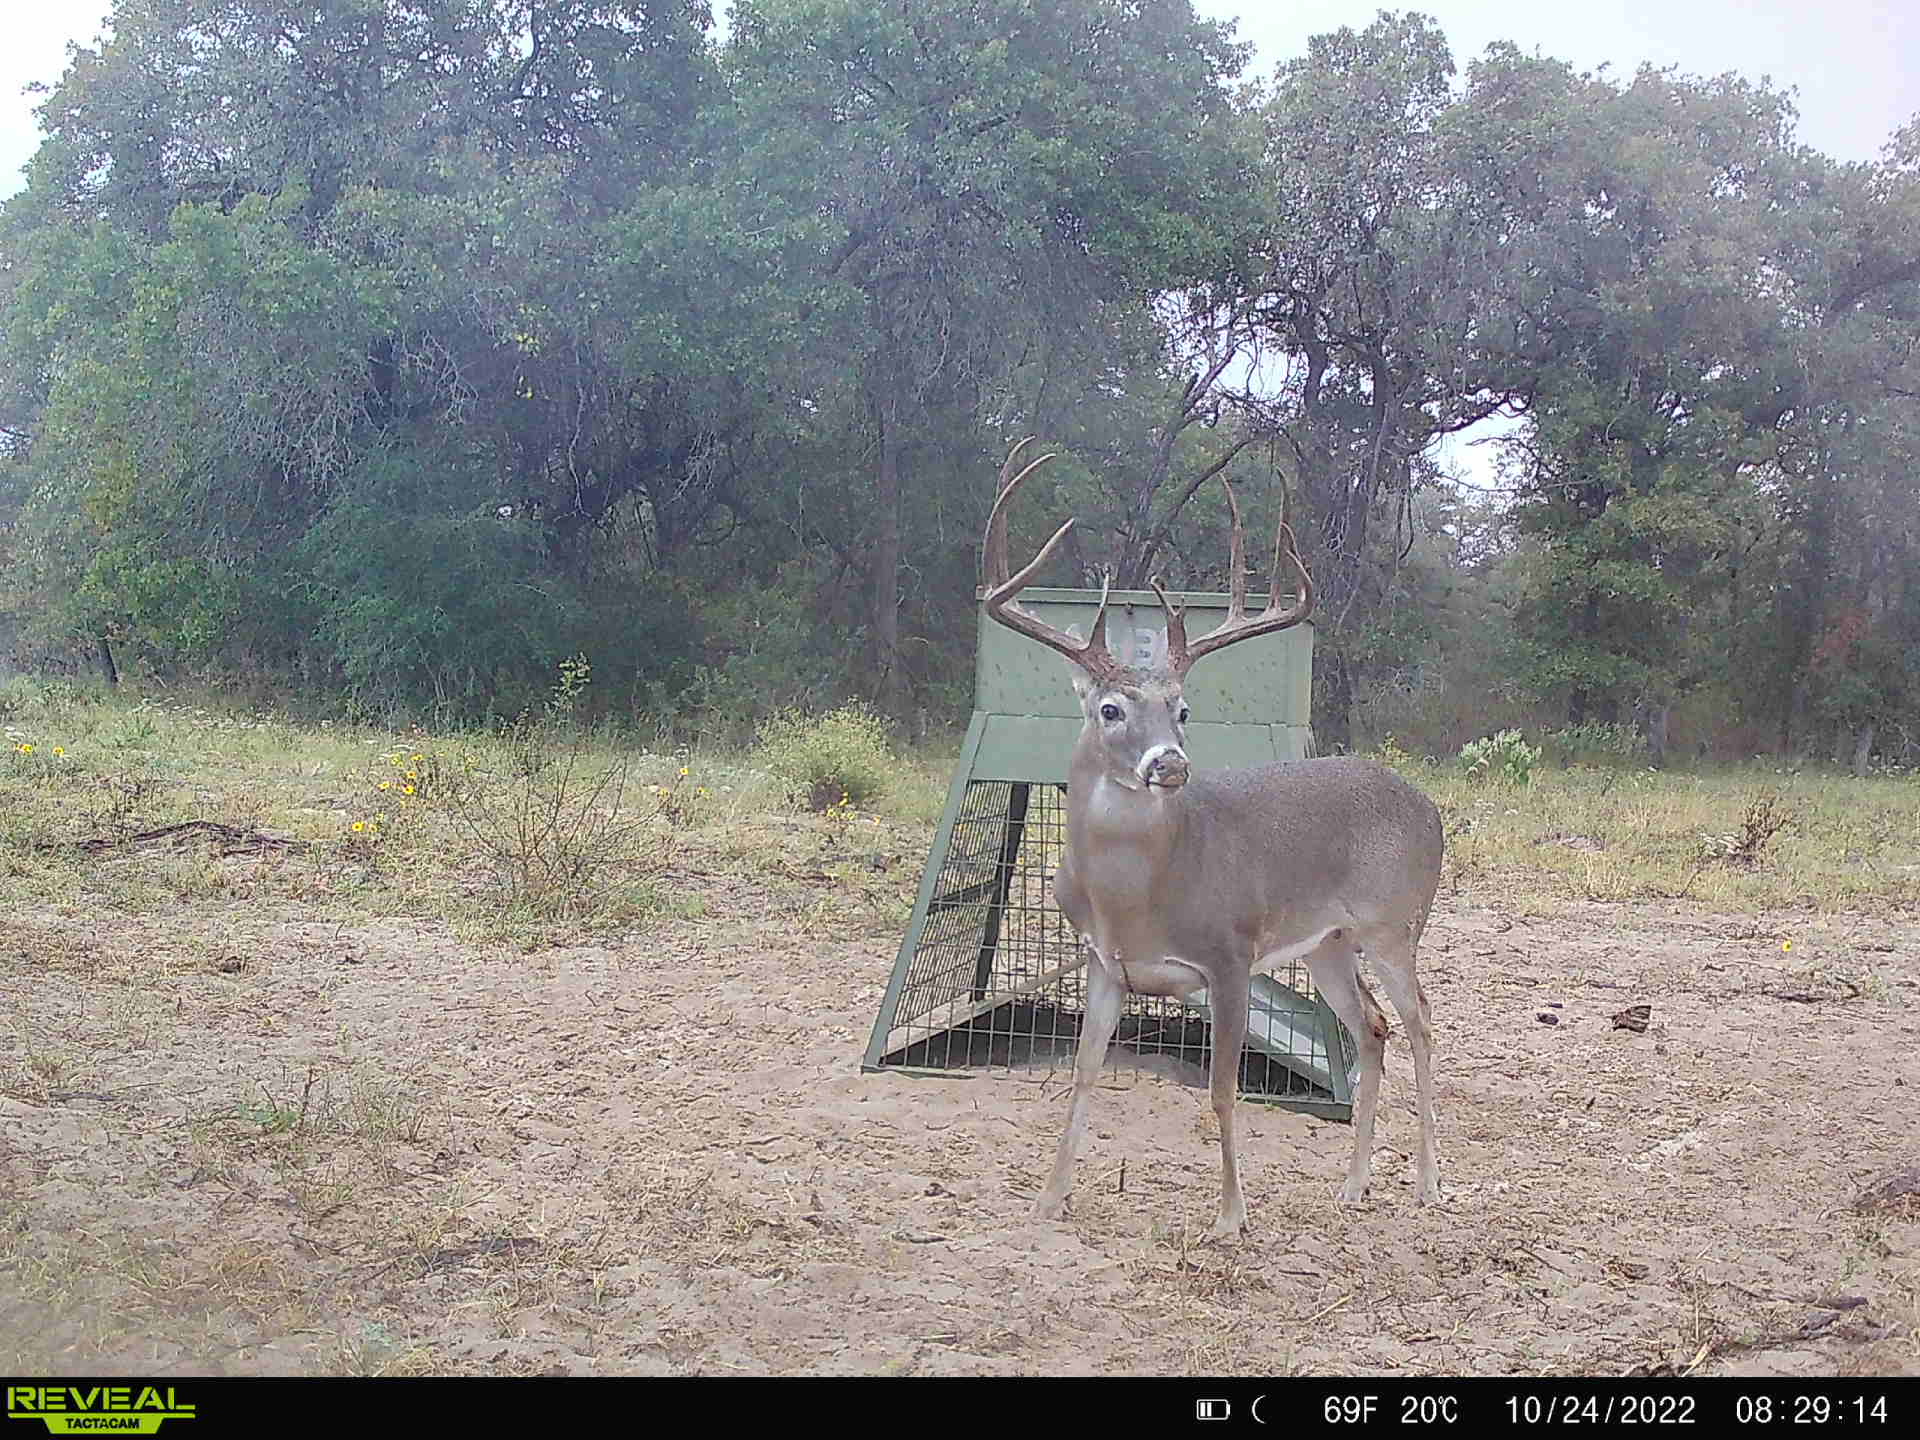
Tactacam Reveal X Cellular Game Camera Review: Pros and Cons
Cellular game cameras have many advantages over traditional old-fashioned cameras where you have to physically access the device to pull photos from the SD card. A friend turned me on to the Tactacam Reveal cellular cameras and they are a game-changer. I’m running the Reveal X 2.0 model cameras which I believe are a bargain…
-

Hog hunting with the new Benelli Lupo 308
We took the new Benelli Lupo 308 hog hunting in Texas and it lived up to its name. You see, Lupo is Italian for wolf, and this wolf harvested some bacon. Read the complete review at our other website Tactical Gun Review.
-
How To Transform Farming Land Into Hunting Grounds
Sometimes, finding the best hunting grounds in your area requires you to create those hunting grounds. Learn how to turn farming land into ideal hunting land.
-

Places in Texas Where You Can See Bighorn Sheep
Texas is home to incredible wildlife, including bighorn sheep. Learn some of the places you can visit to try to spot these incredible animals.
-
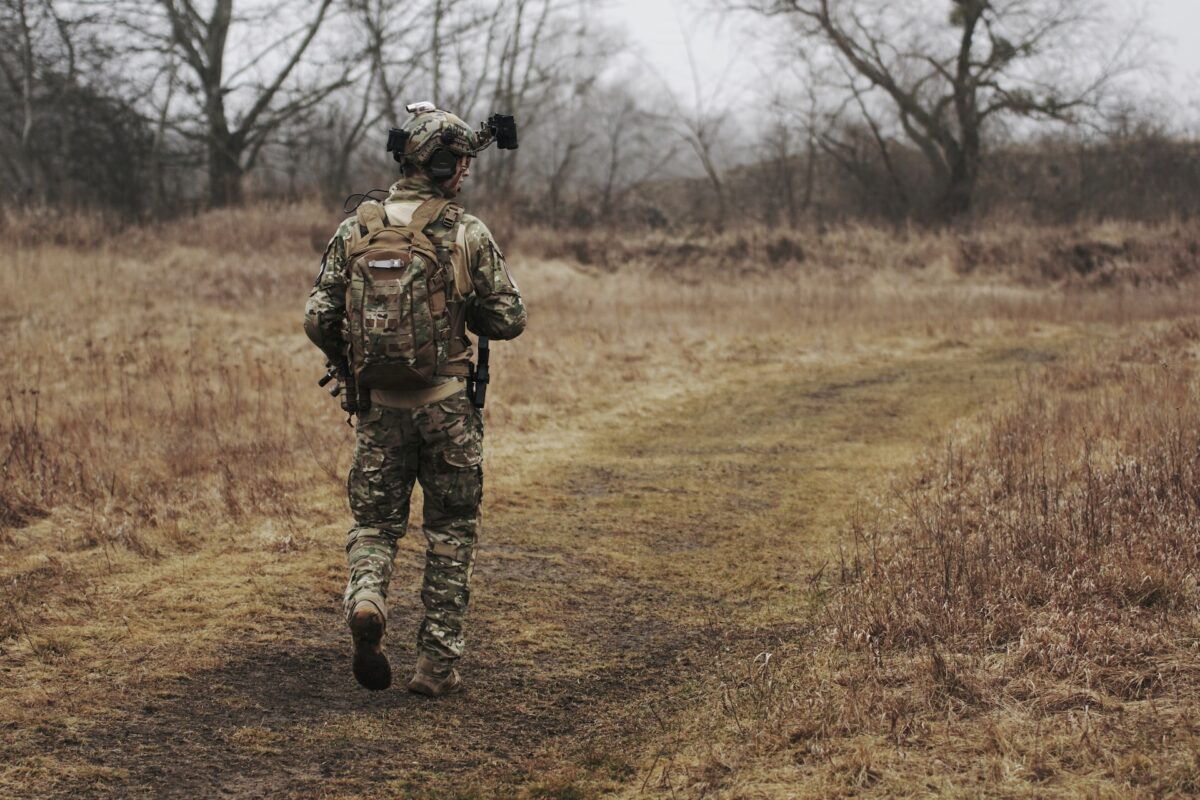
The Best Tactical Gear for Gun Lovers
In the world of gun enthusiasts, the importance of being prepared and equipped cannot be overstated. Whether you’re engaging in shooting sports, embarking on a hunting expedition, or simply spending time in the great outdoors, having the right gear can make all the difference. Dive into the best tactical gear for gun lovers to help…
-
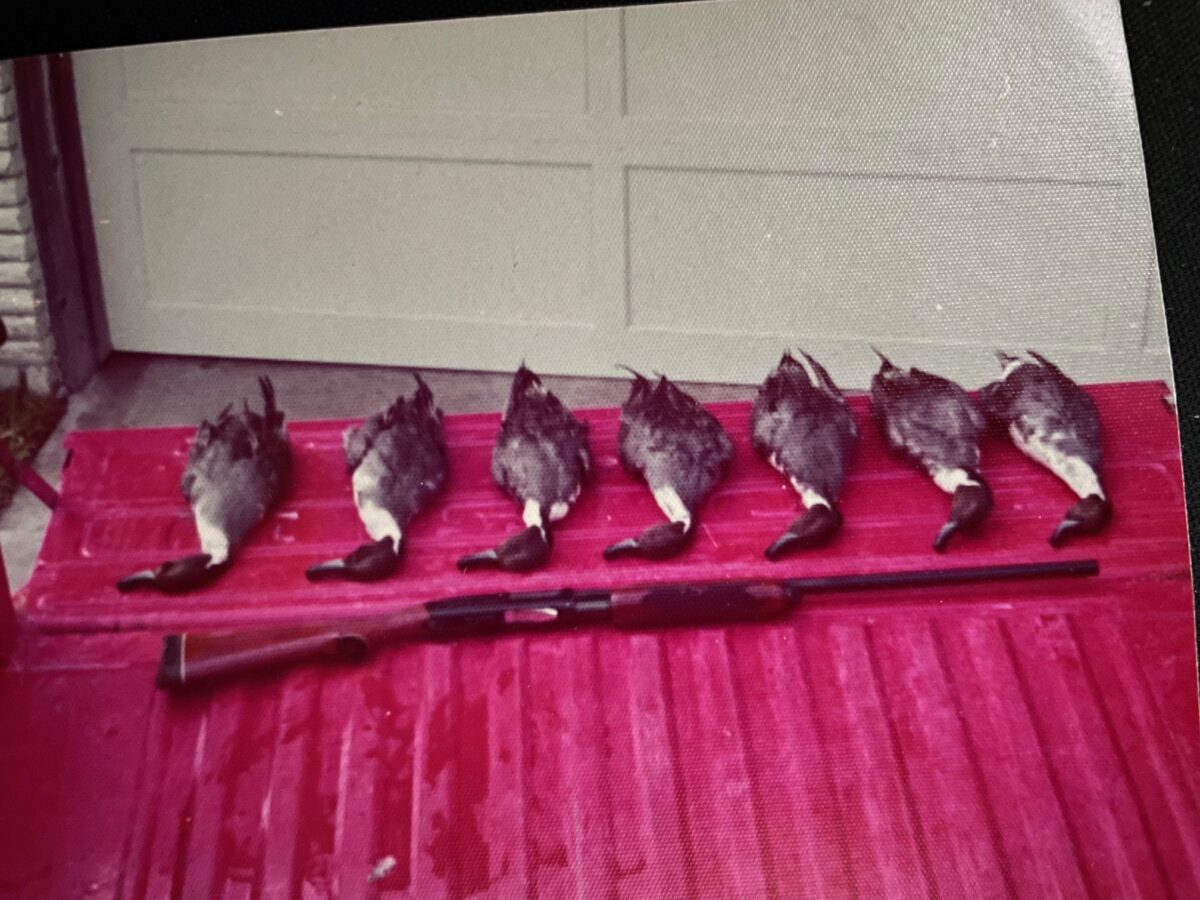
Sprigs! Pintails back in the day
Pintails were the only ducks we really chased back in the day. By “back in the day” I mean the late ’70s and early ’80s along the Gulf Coast. What a wonderful time and place to be a teenager. It helped that our family owned Portland Marine and I had easy access to a variety…
