Category: Gear
-
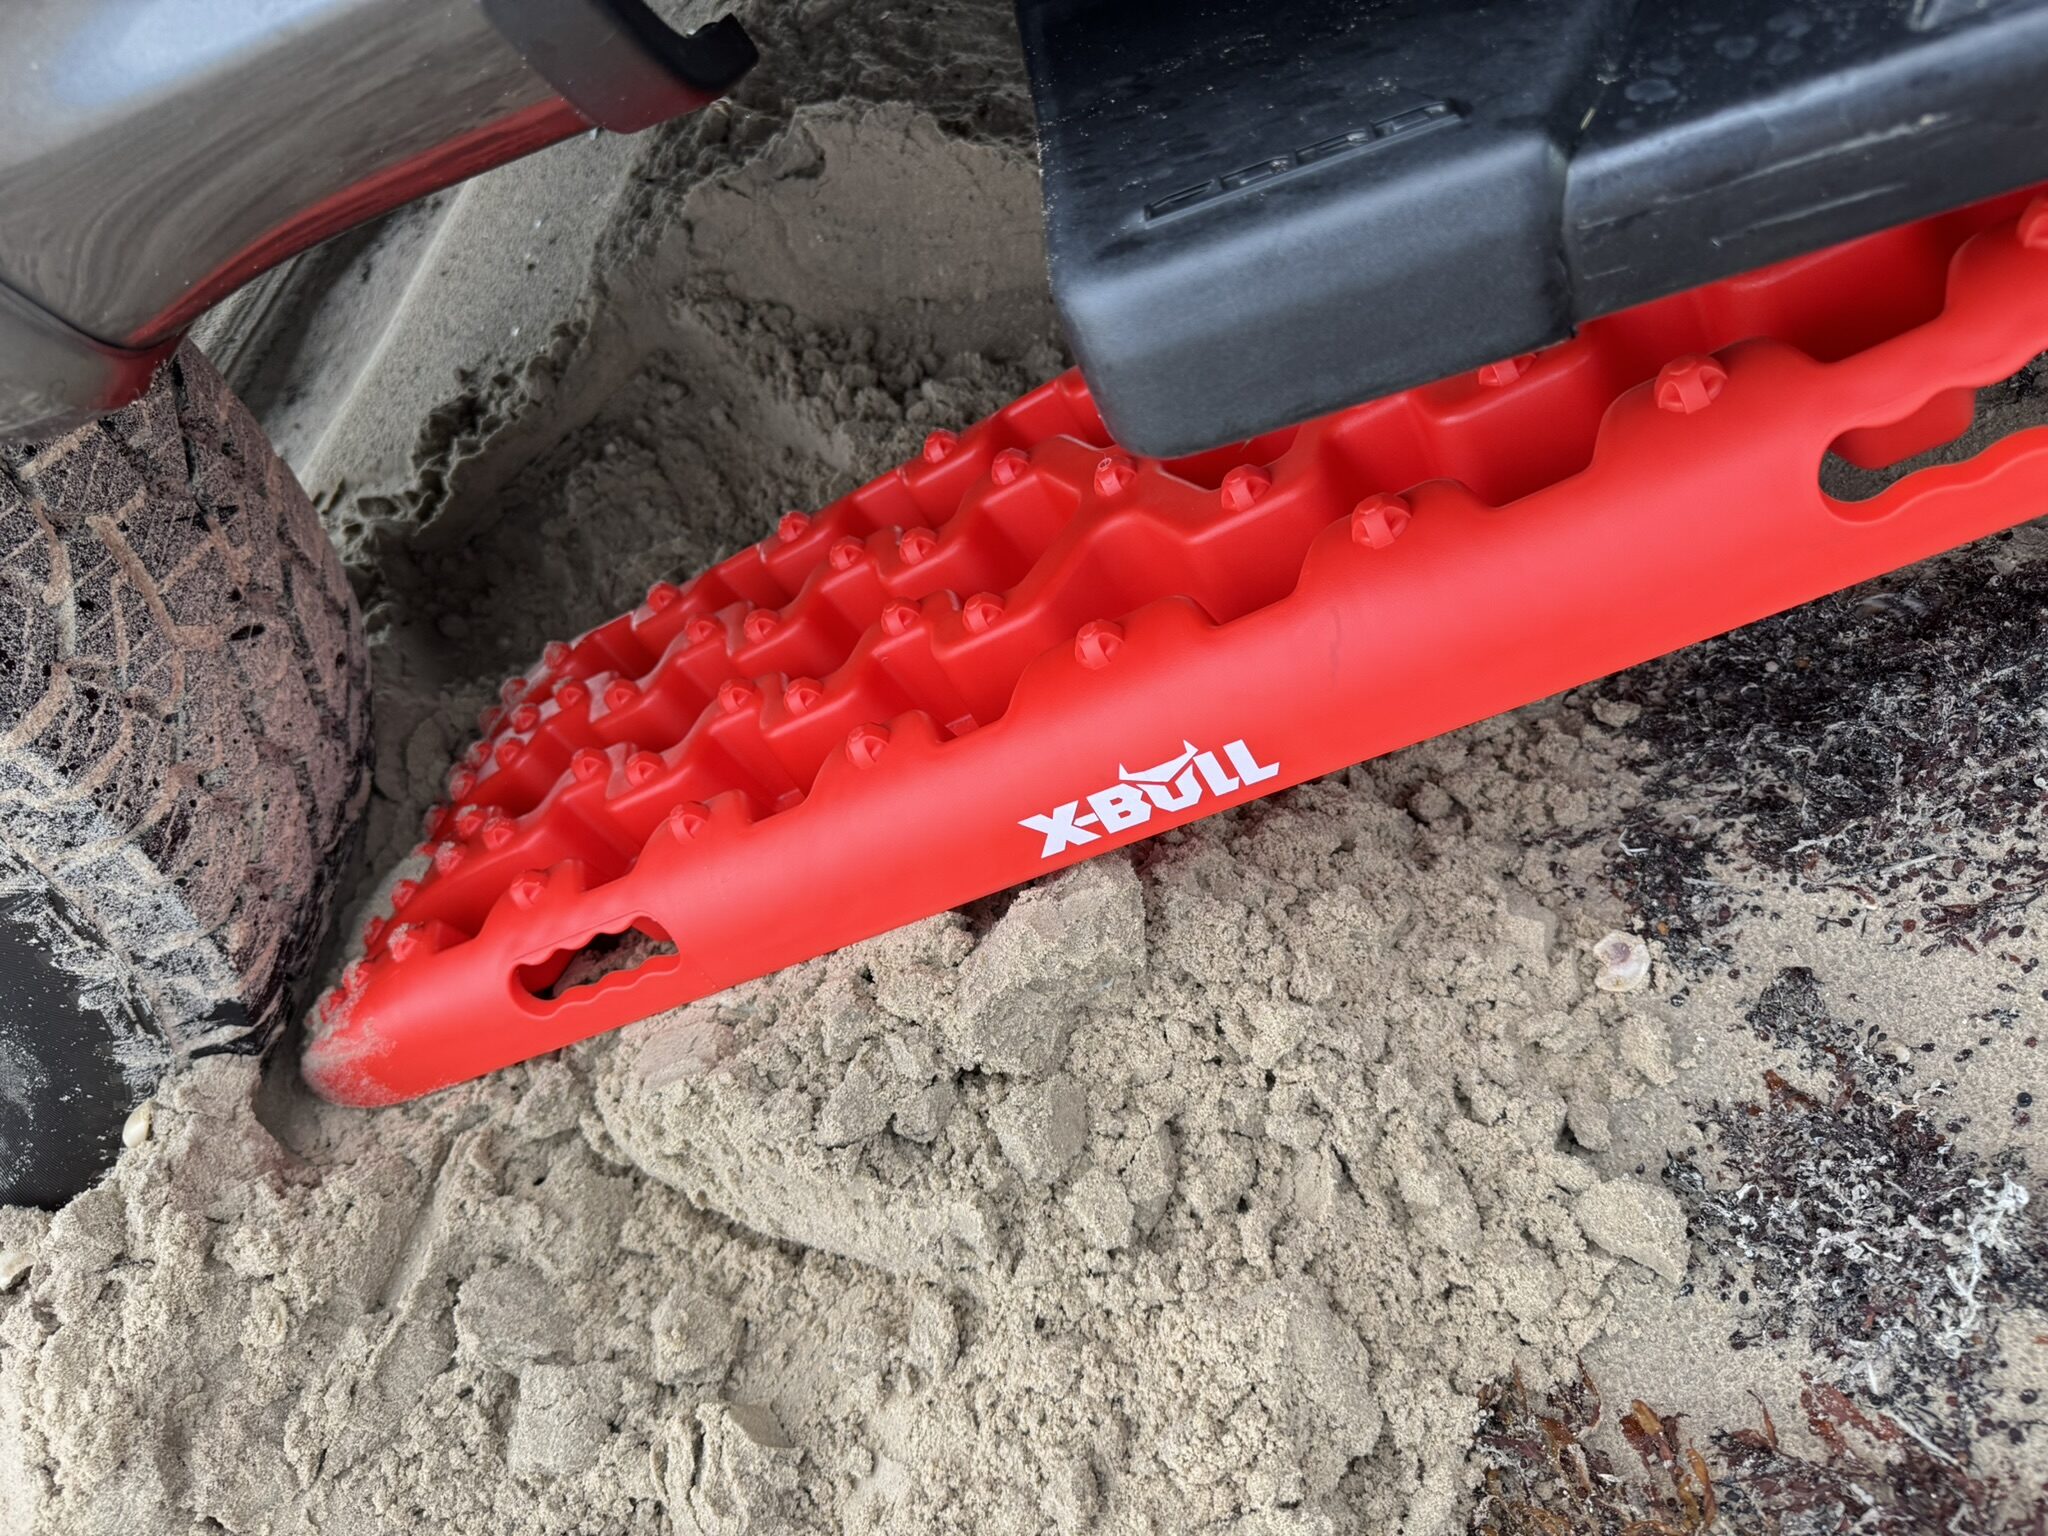
X-BULL Gen 3.0 Off-Road Recovery Traction Boards
I frequently kayak fish down Matagorda beach, on the Texas Gulf Coast. This barrier island is largely undeveloped except for a few houses south of the small town of Matagorda. Matagorda beach is not maintained like Mustang (Port A) or Padre are. It is “four wheel drive only” and the local spectator sport is watching…
-

What To Consider When Staying at Your First RV Campground
As an RV owner, you may consider staying at a campground during your next trip, but there are some things to consider before you park the vehicle.
-
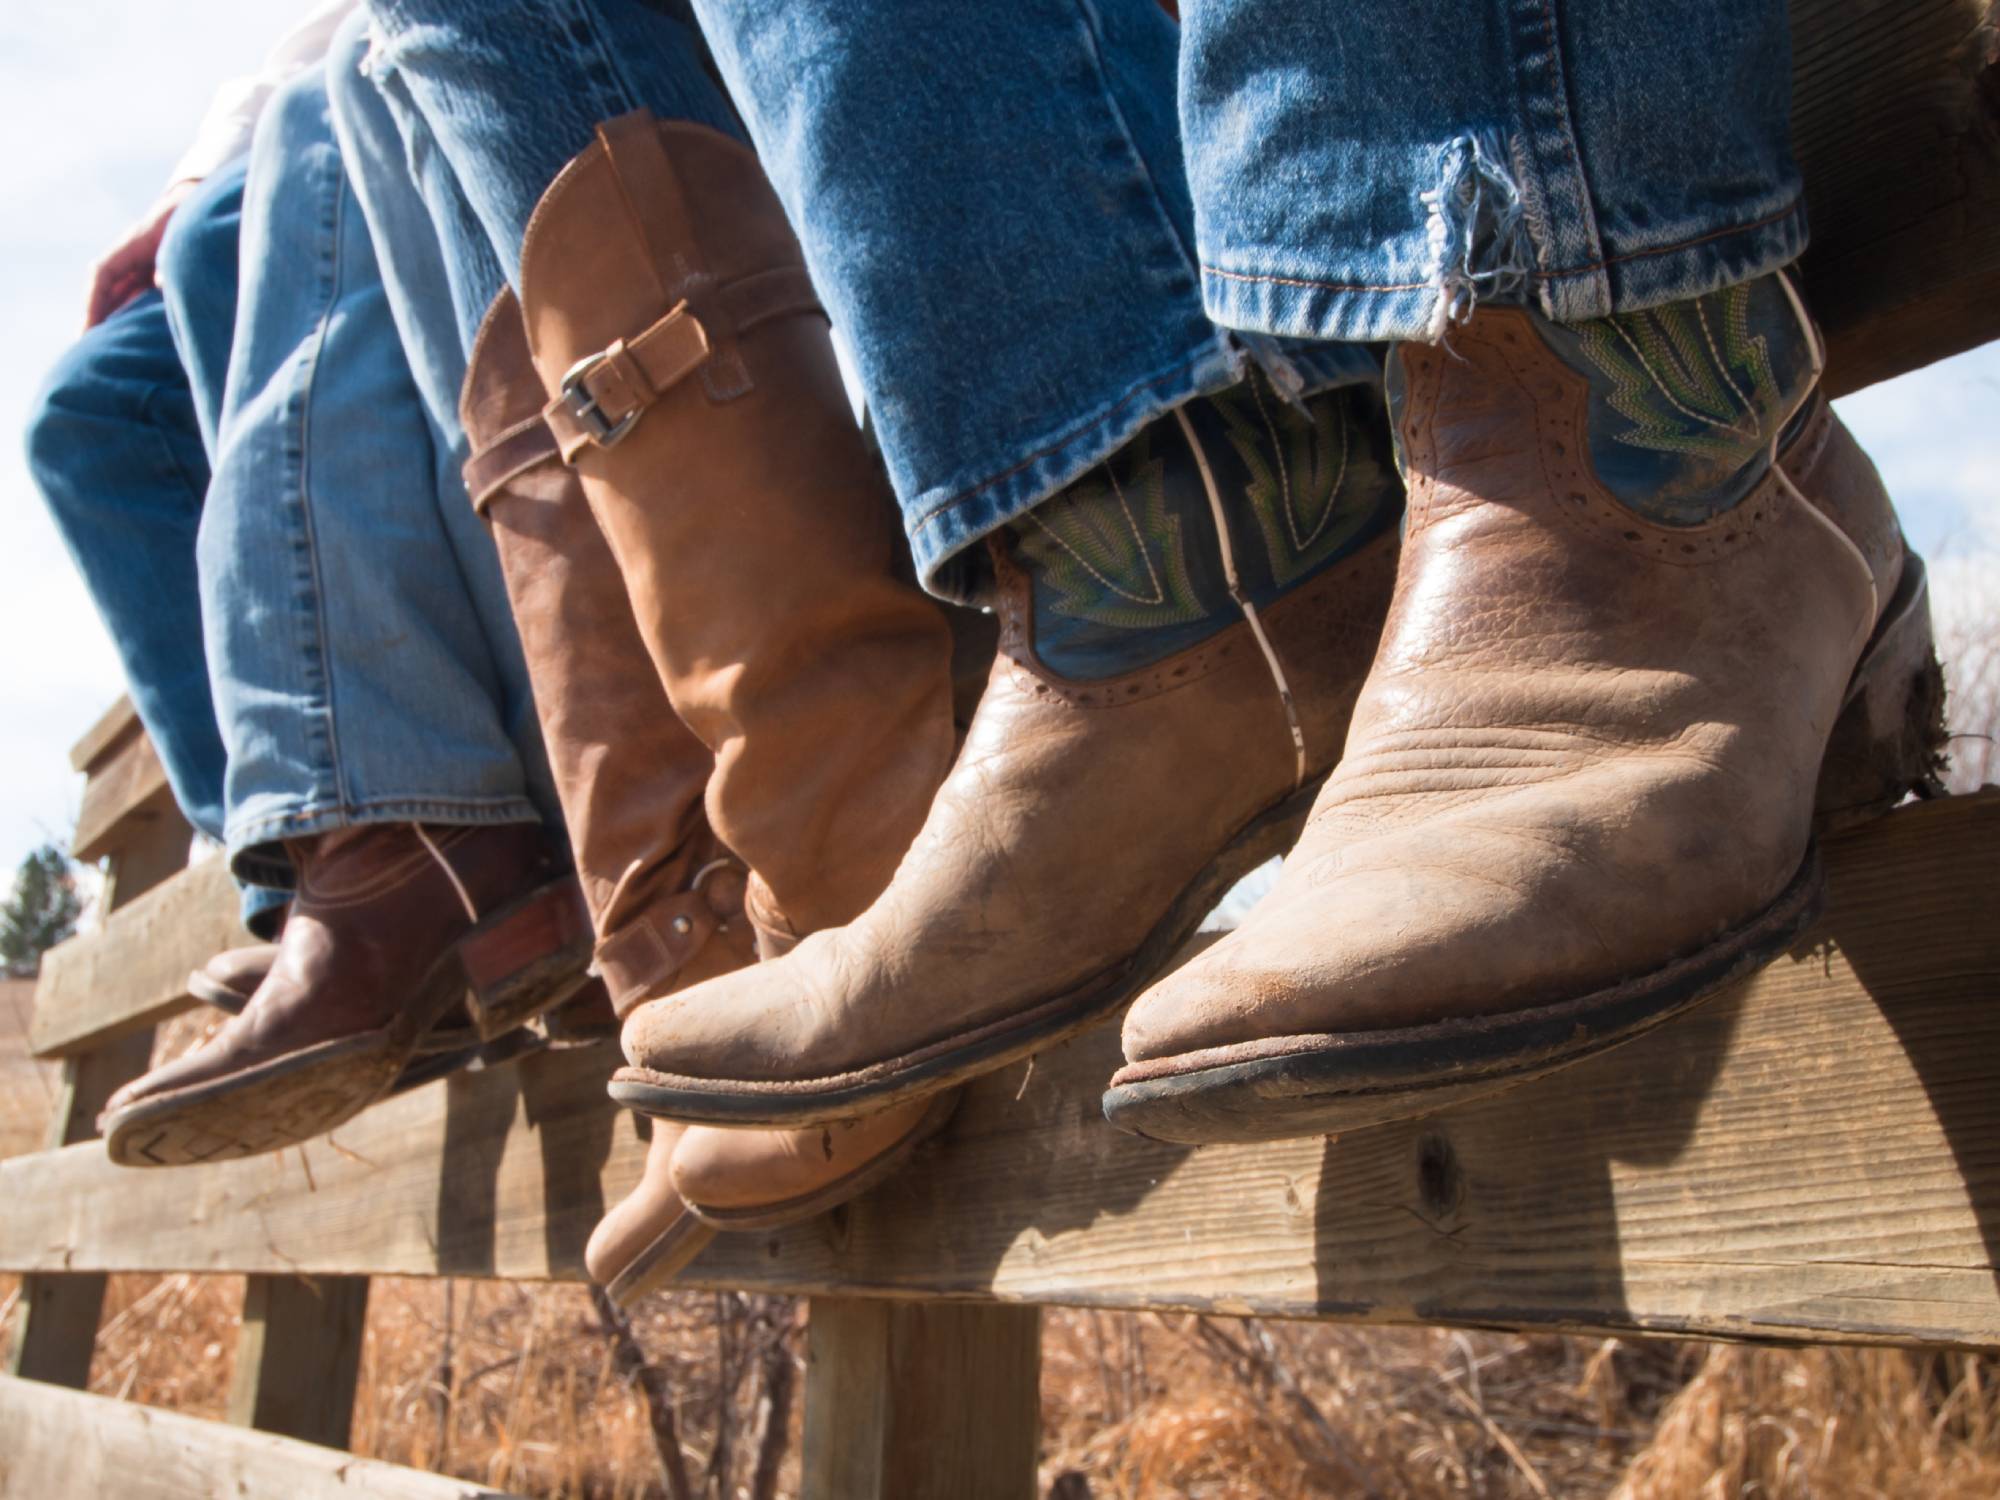
How To Choose the Right Cowboy Boot for Any Terrain
Find the perfect cowboy boots built for comfort, durability, and style, keeping you ready for any adventure while maintaining a timeless Texan look.
-
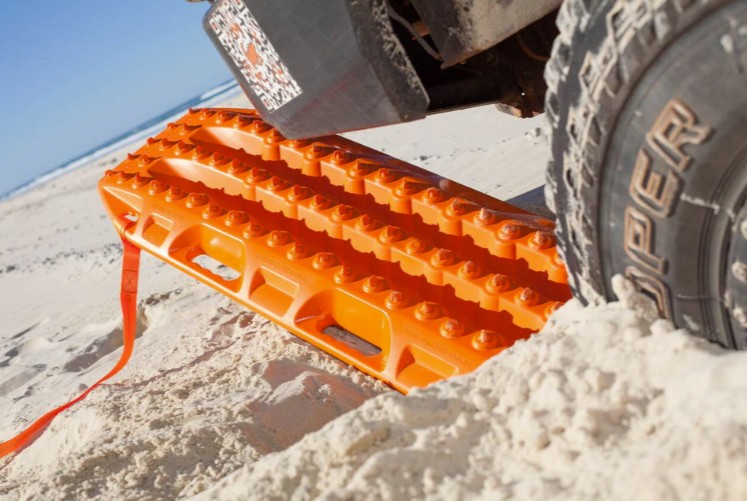
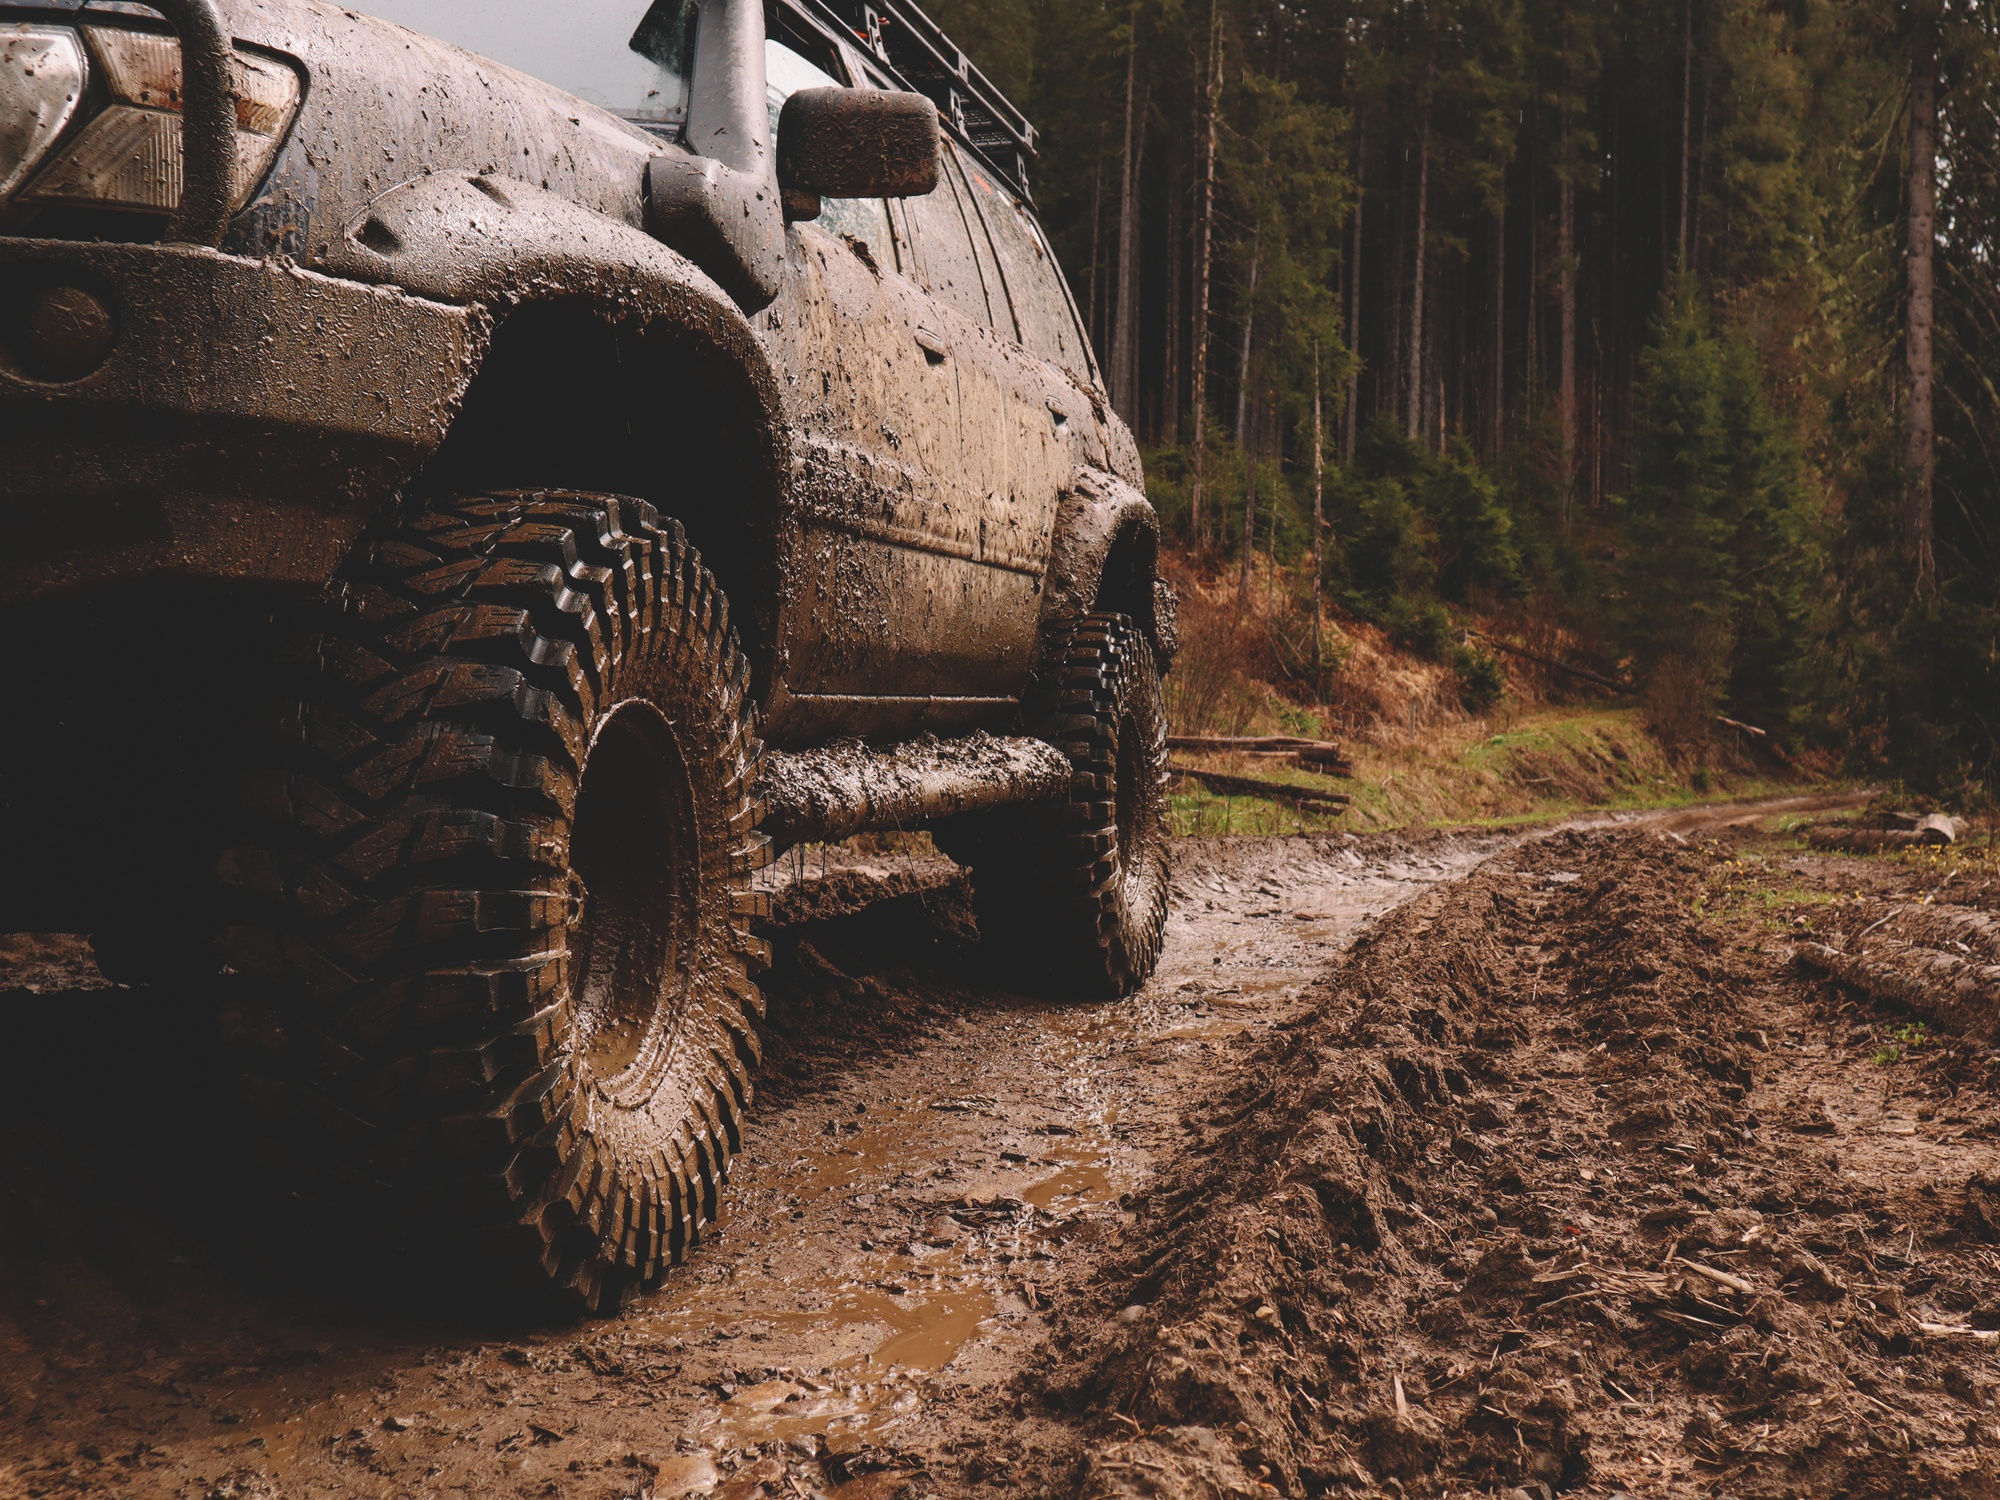
Pros and Cons of Different Off-Road Traction Boards
Off-road traction boards are essential recovery tools for getting vehicles unstuck from sand, mud, or snow. The market offers various options, each with distinct advantages and drawbacks. Below is a summary of the pros and cons of some of the most popular traction board brands and types, based on recent hands-on testing and expert reviews.…
-

How To Prepare Your Motorcycle for a Long-Distance Ride
Prepare for your next motorcycle adventure with our tips! Ensure safety, comfort, and hassle-free travels by following these essential pre-ride steps.
-
Material Selection for Welding Outdoor Gear
Outdoor gear must withstand every challenge it encounters. Use aluminum, titanium, and expert techniques to produce equipment that’s ready for any adventure.
-
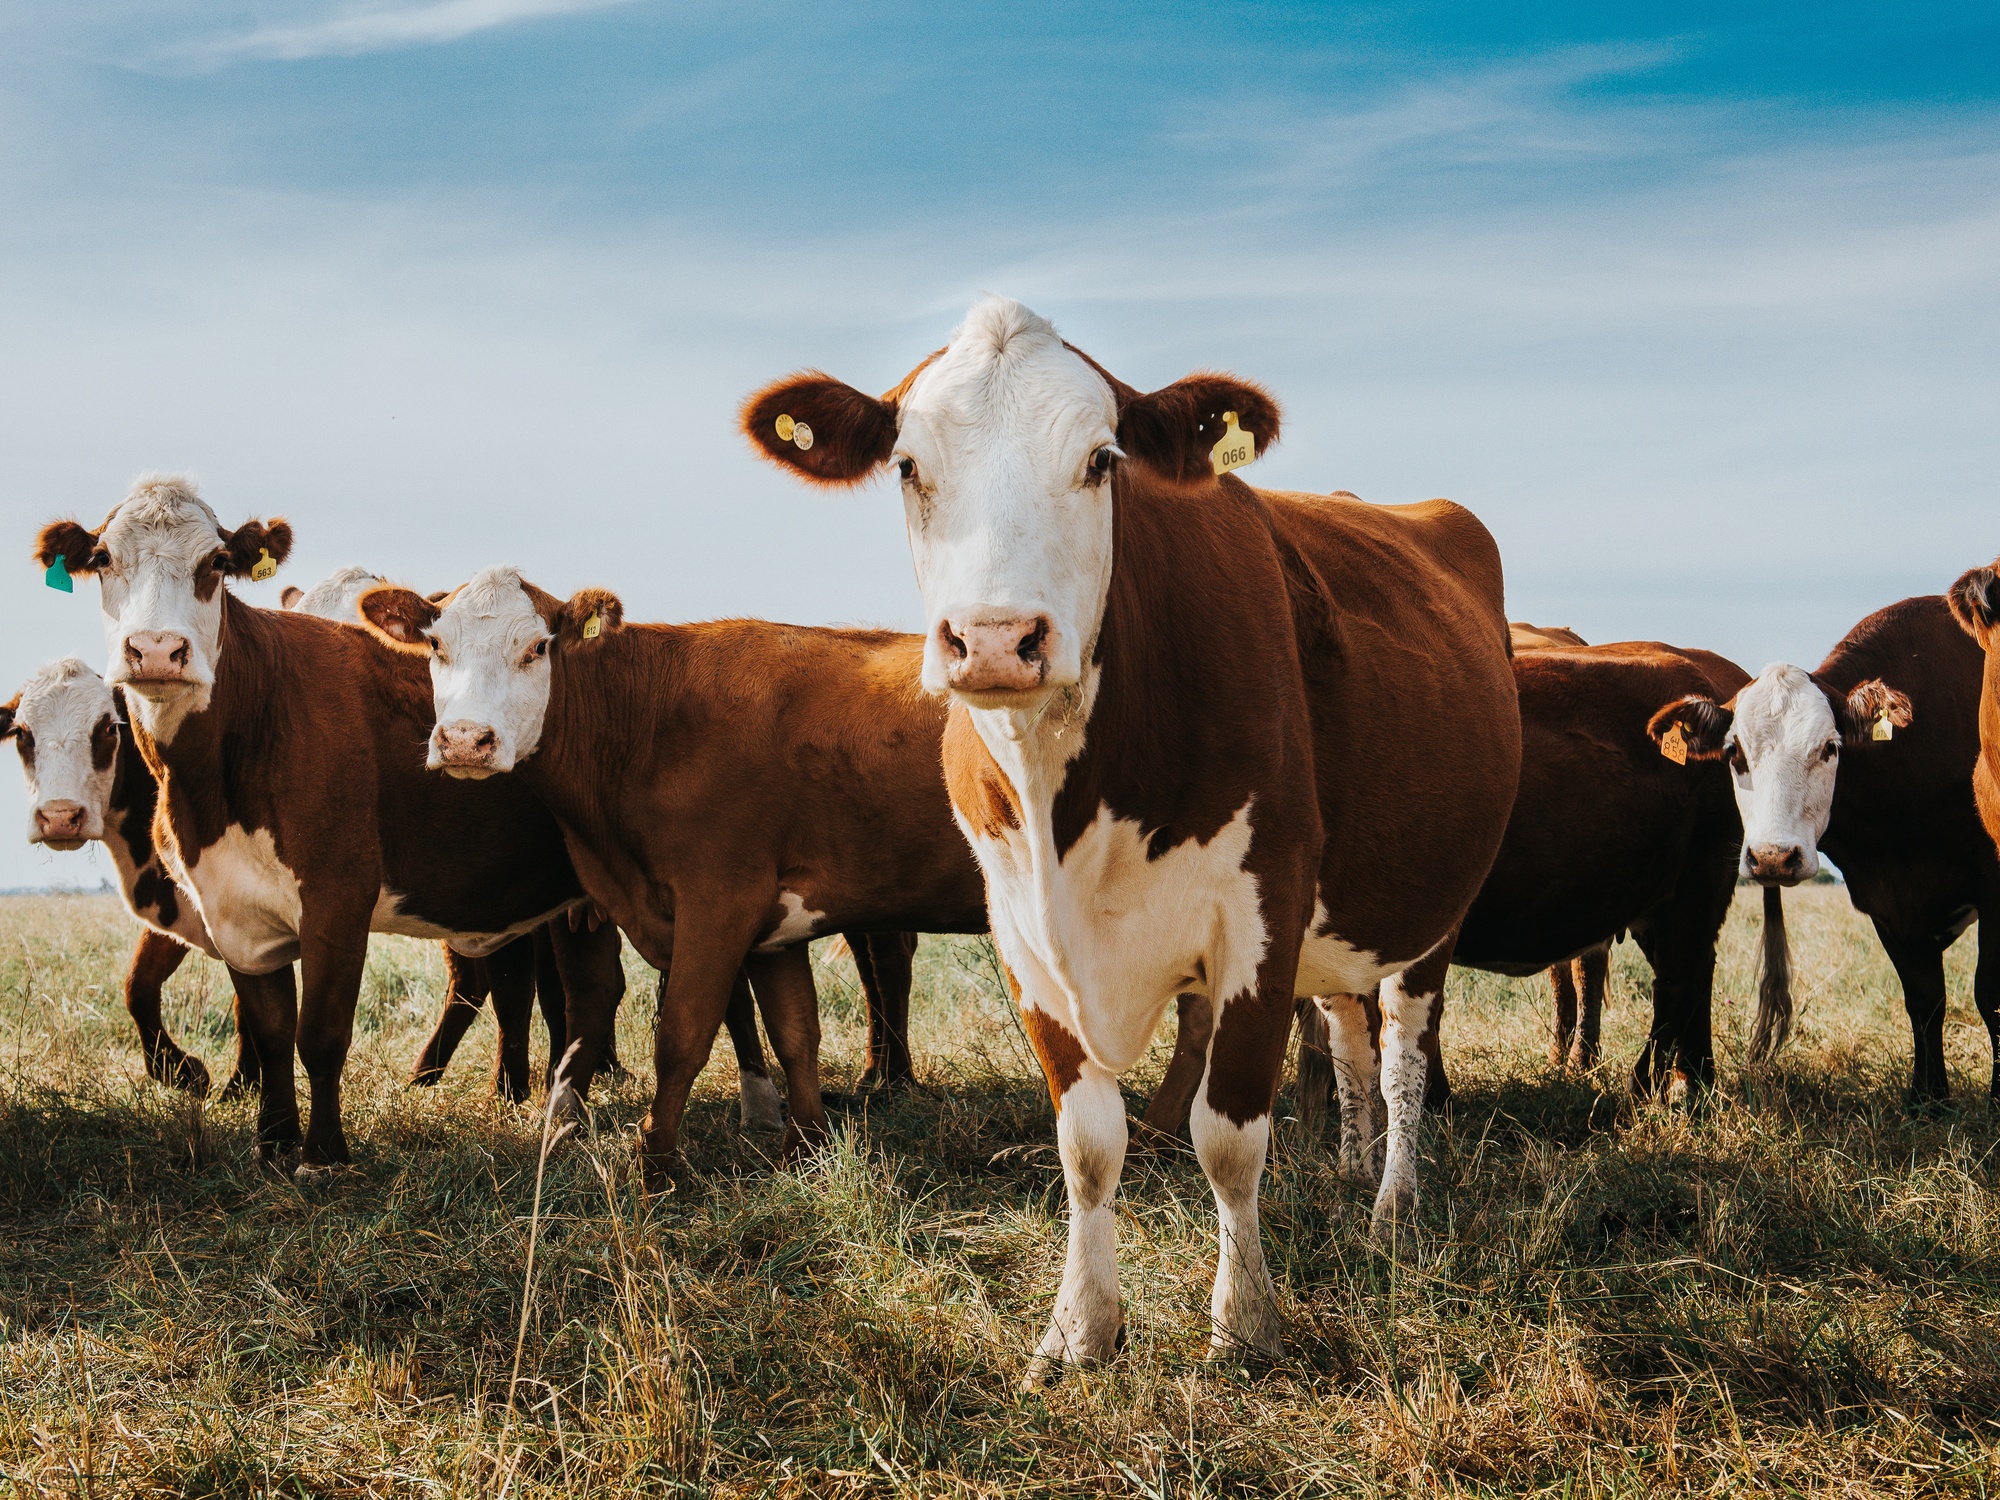
A Short Guide on How To Start Raising Cattle
Want to raise cattle in Texas? This short guide covers picking breeds, fencing, feeding, and selling, so you can start your ranching adventure the right way!
-
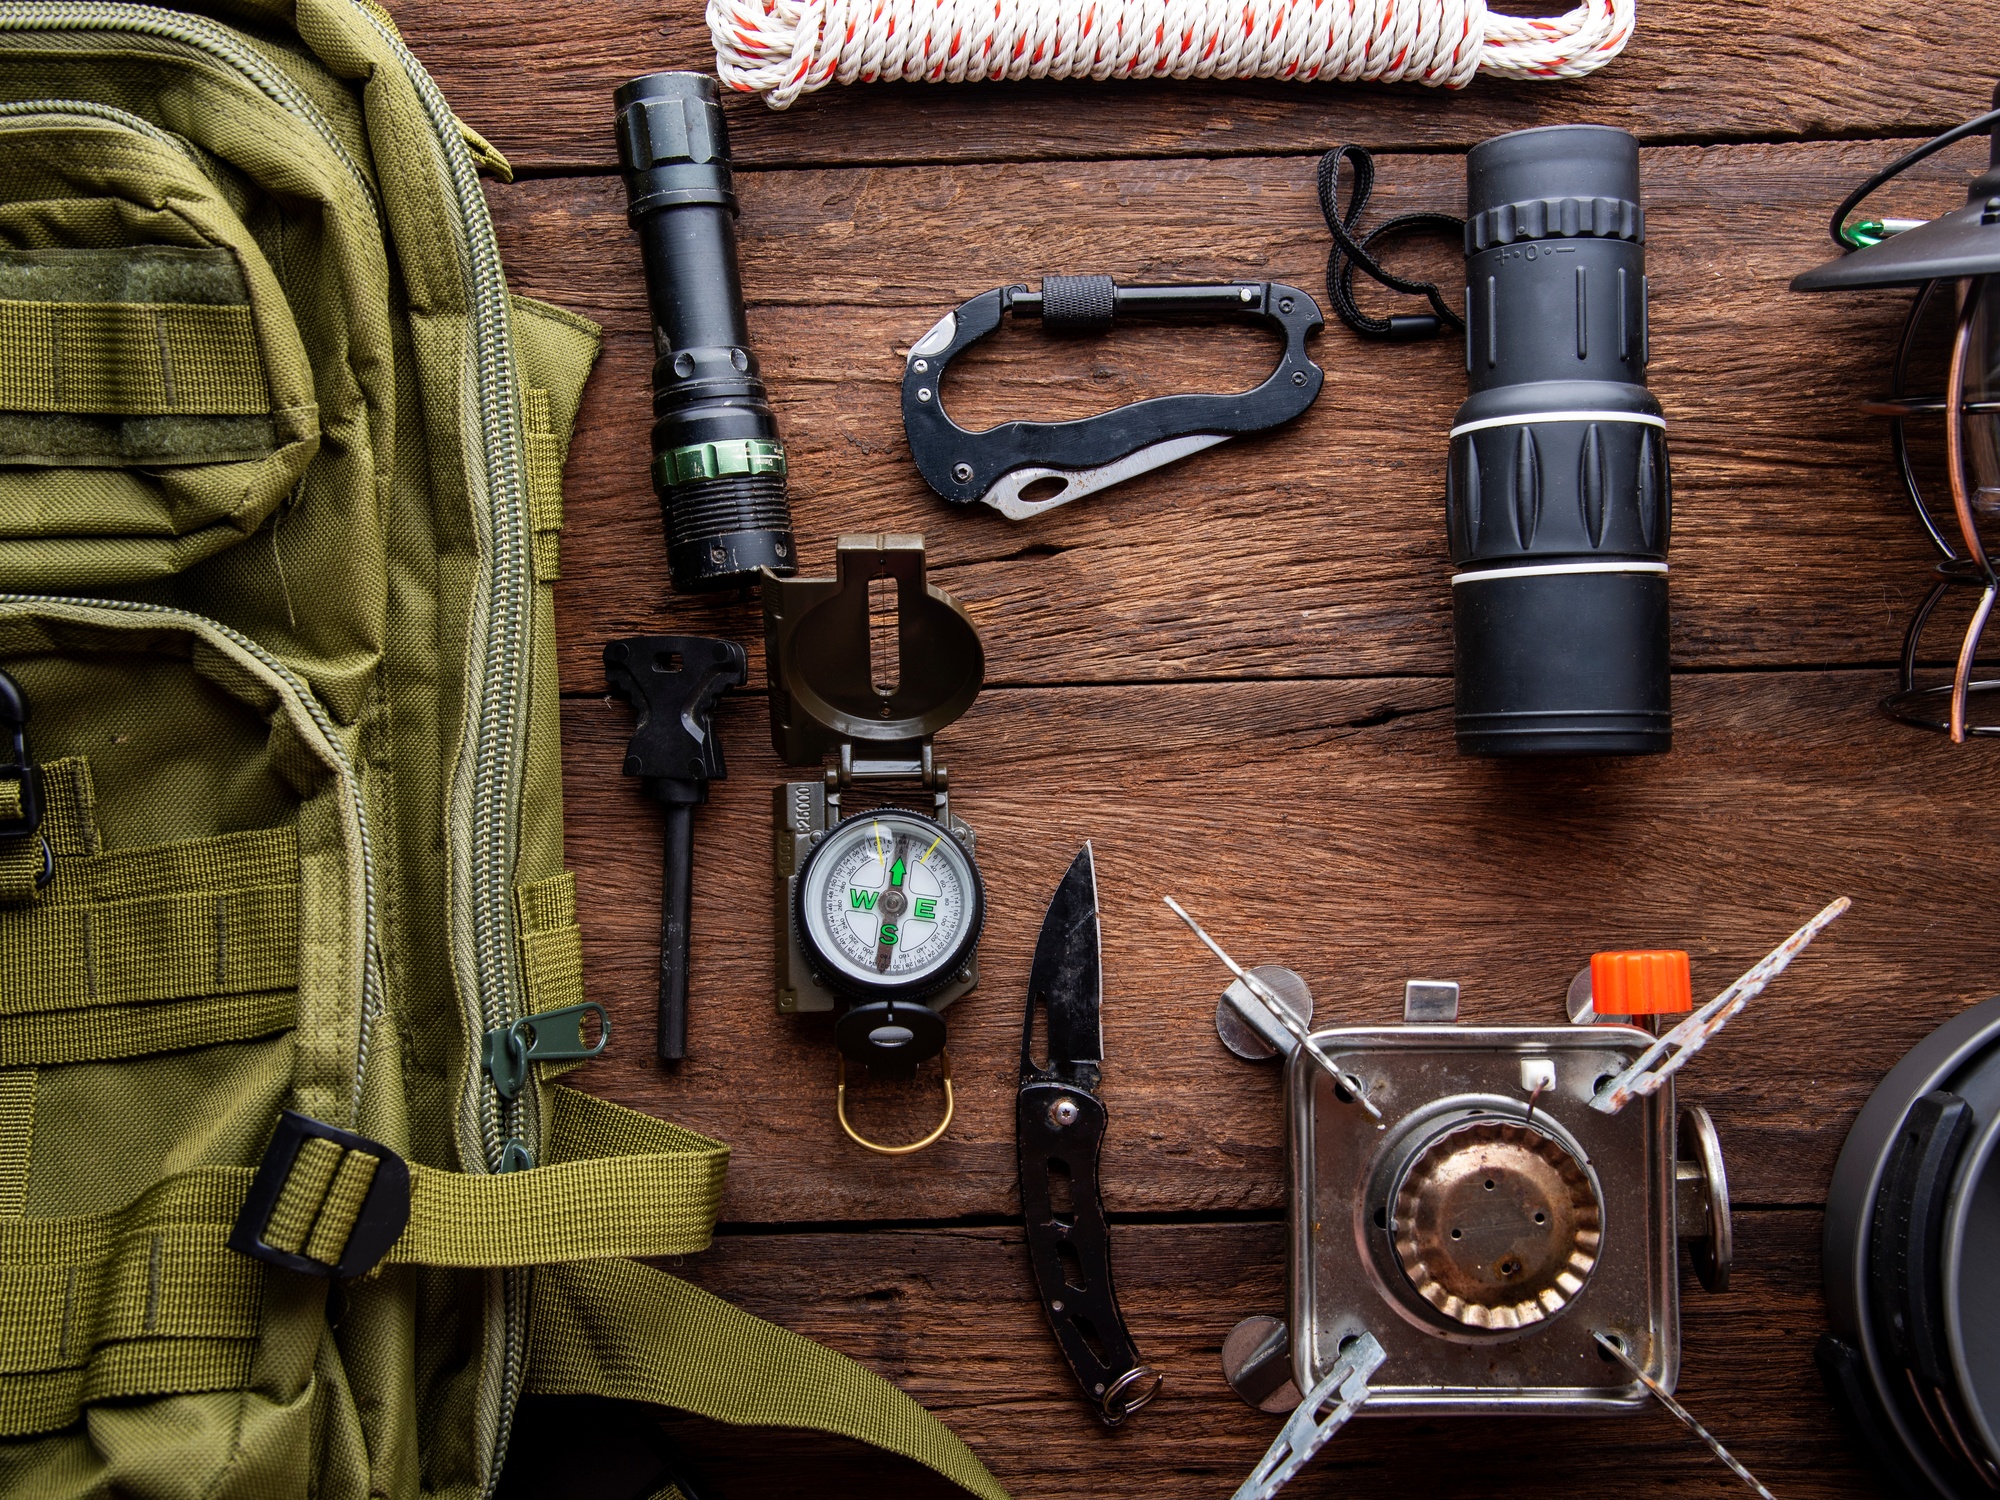
Must-Have Safety Items To Bring During Off-Roading
From recovery gear to tire essentials, here’s everything off-roaders need to stay safe and handle challenges while hitting rugged Texas trails.
-
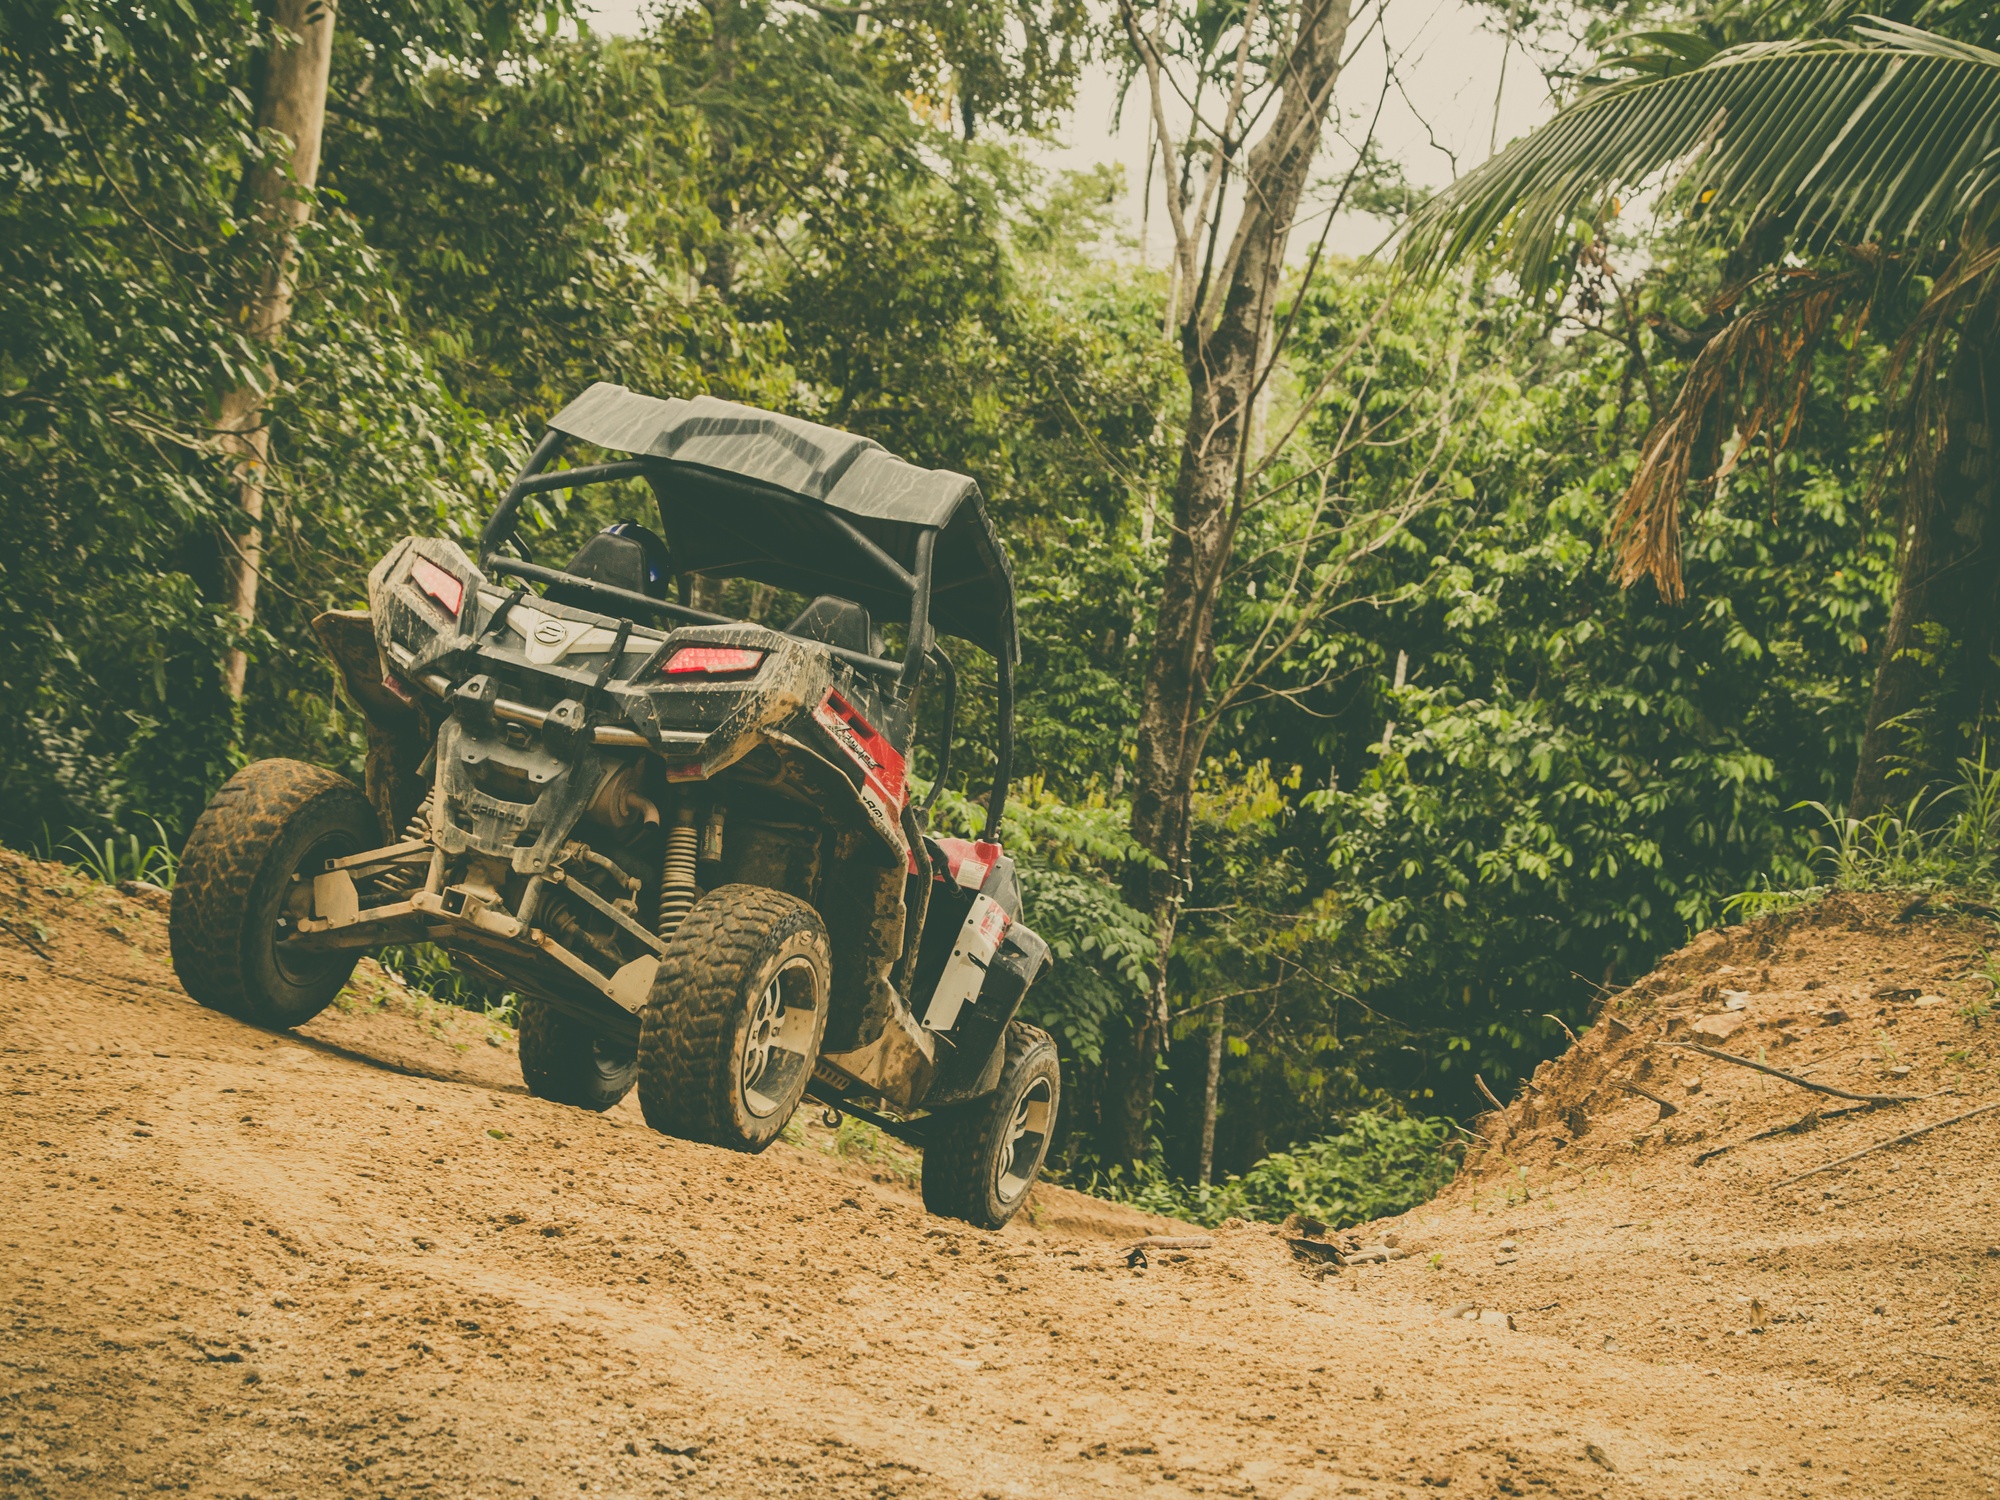
How to Outfit Your UTV for Hunting Season
Having a well-equipped UTV allows you to focus on the thrill of the hunt. Here’s some key advice on how to outfit your UTV for hunting season.
-
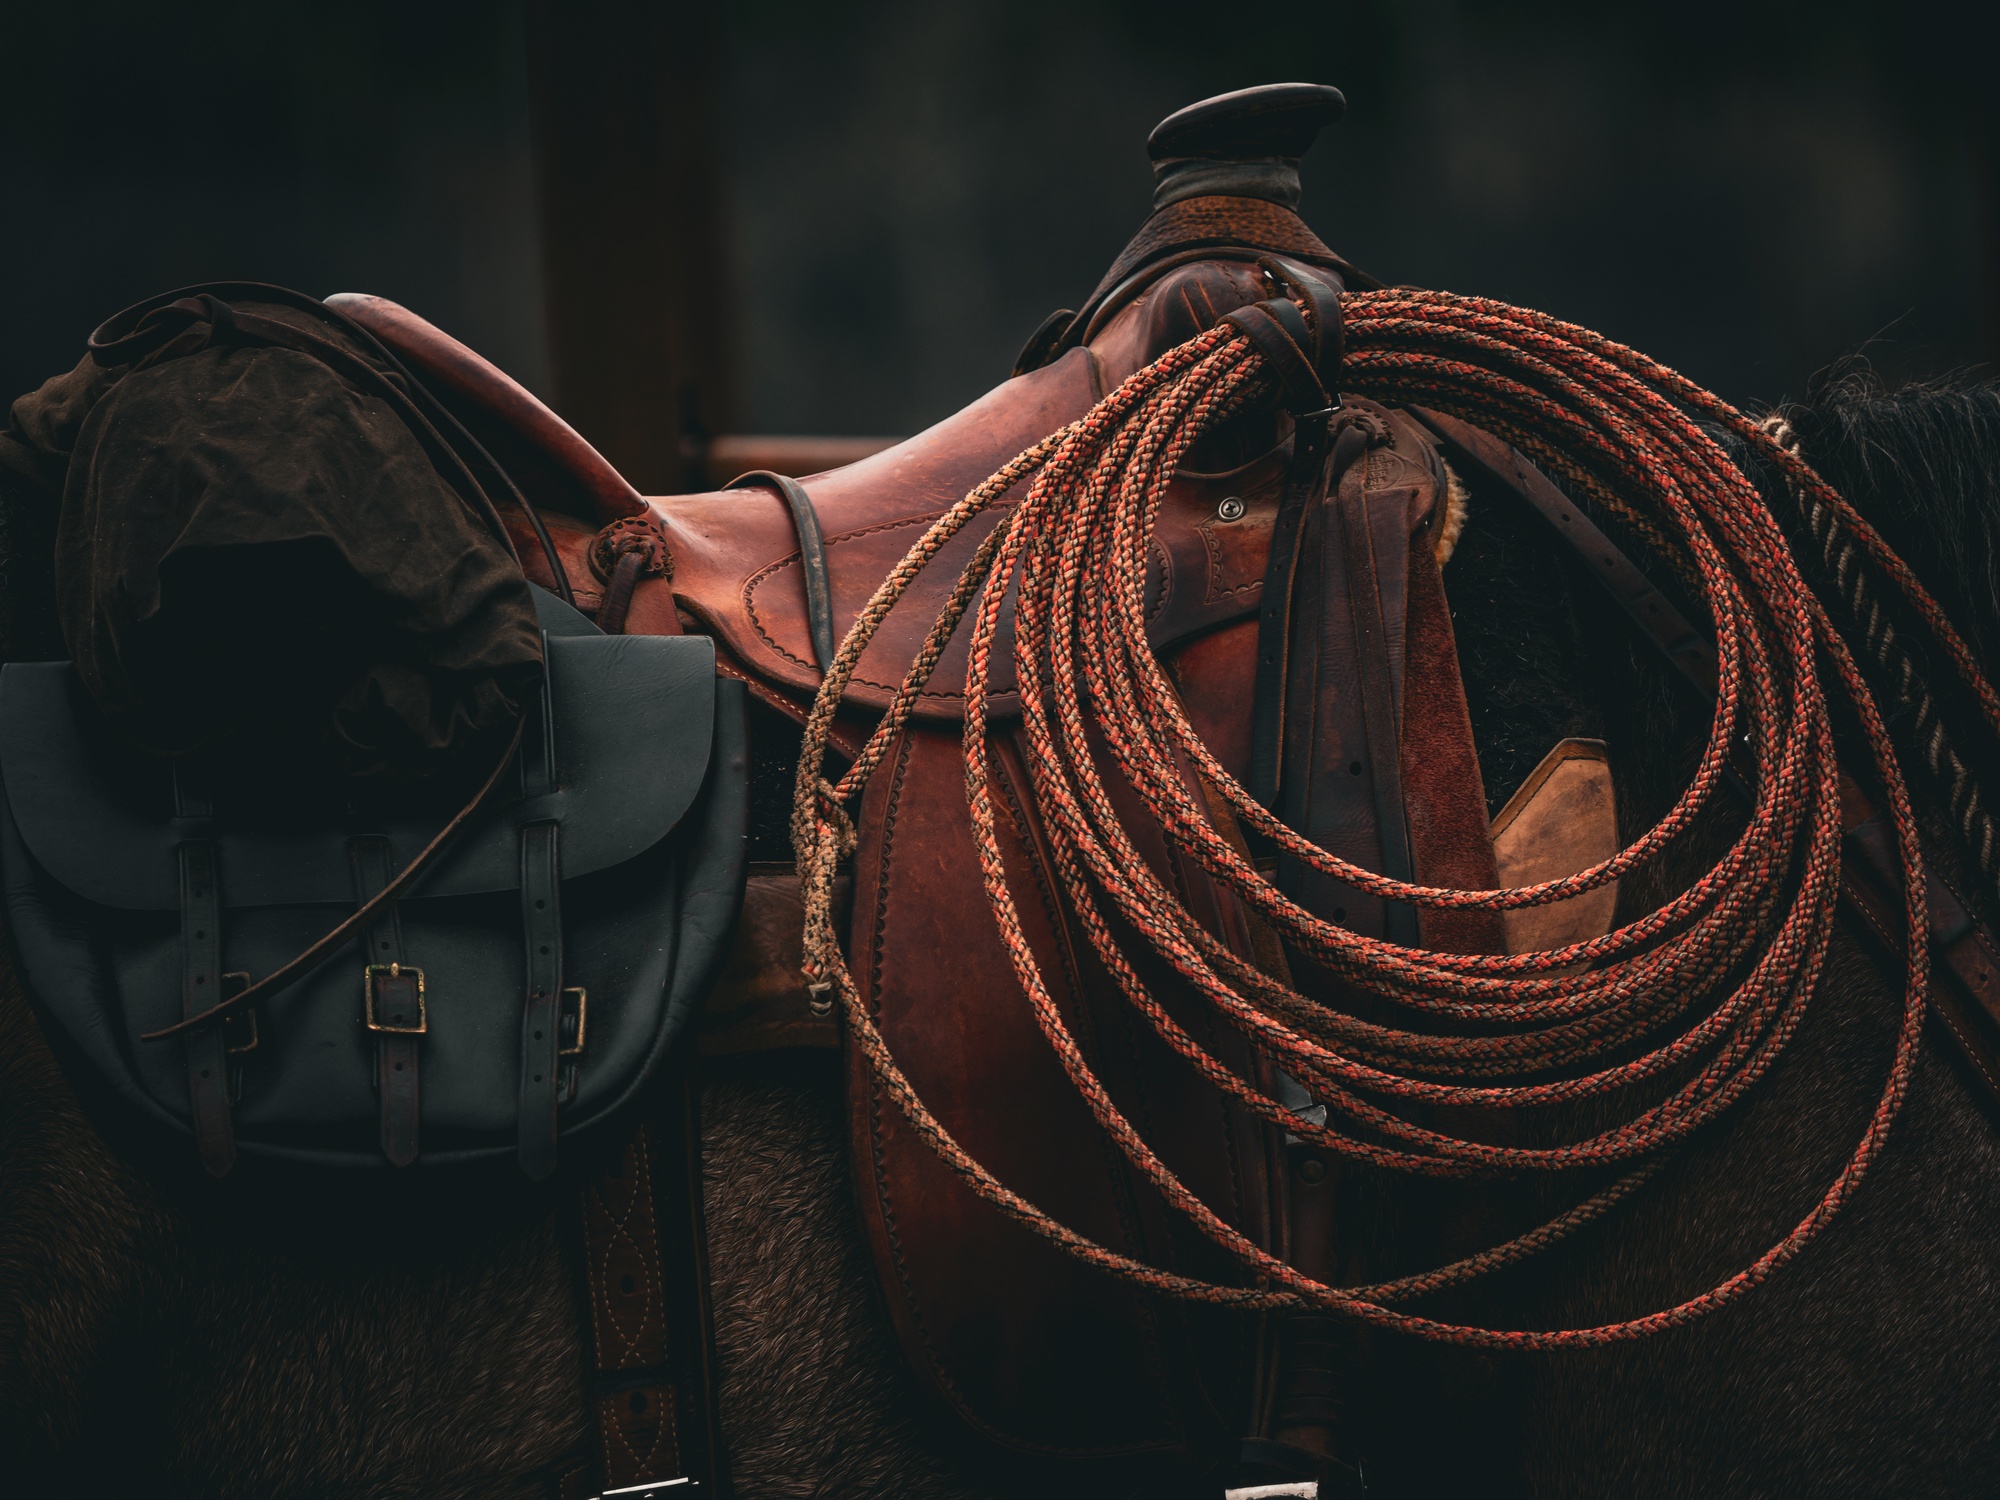
3 Signs It’s Time To Replace Your Lariat Rope
A lariat rope in poor condition does not behave predictably and can cause safety problems in the arena. Look for these signs it’s time to replace your lariat.
-
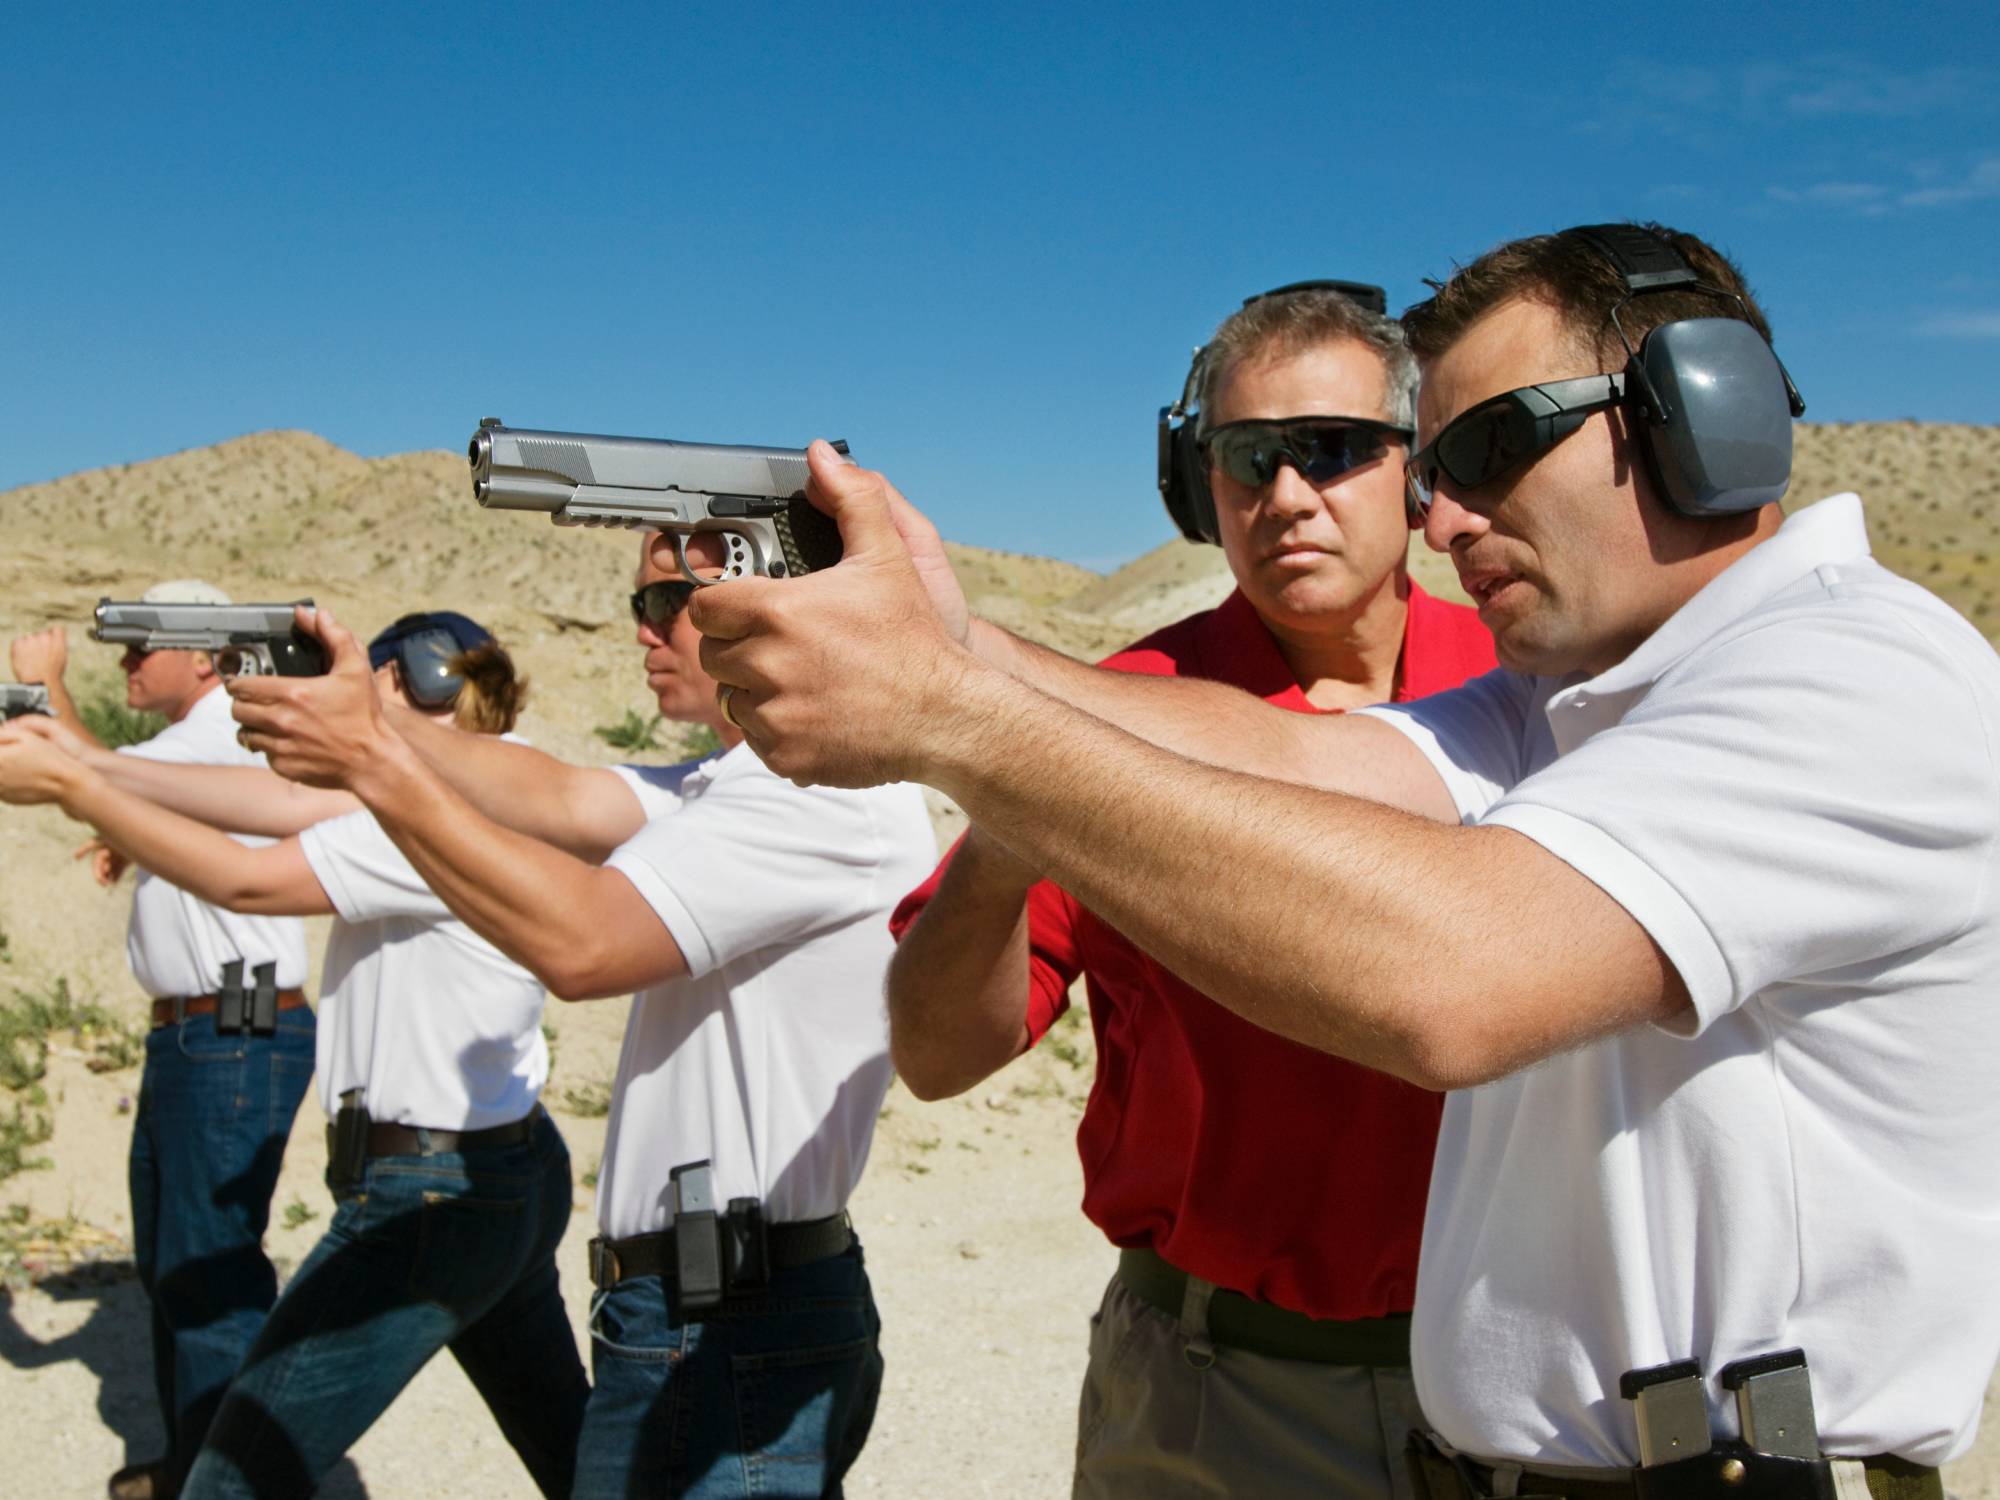
Training With a Firearm: Exploring the Most Useful Exercises
If you use a firearm, you must practice with it to ensure your safety and that of others. Here are the most useful exercises you can take part during training.
-
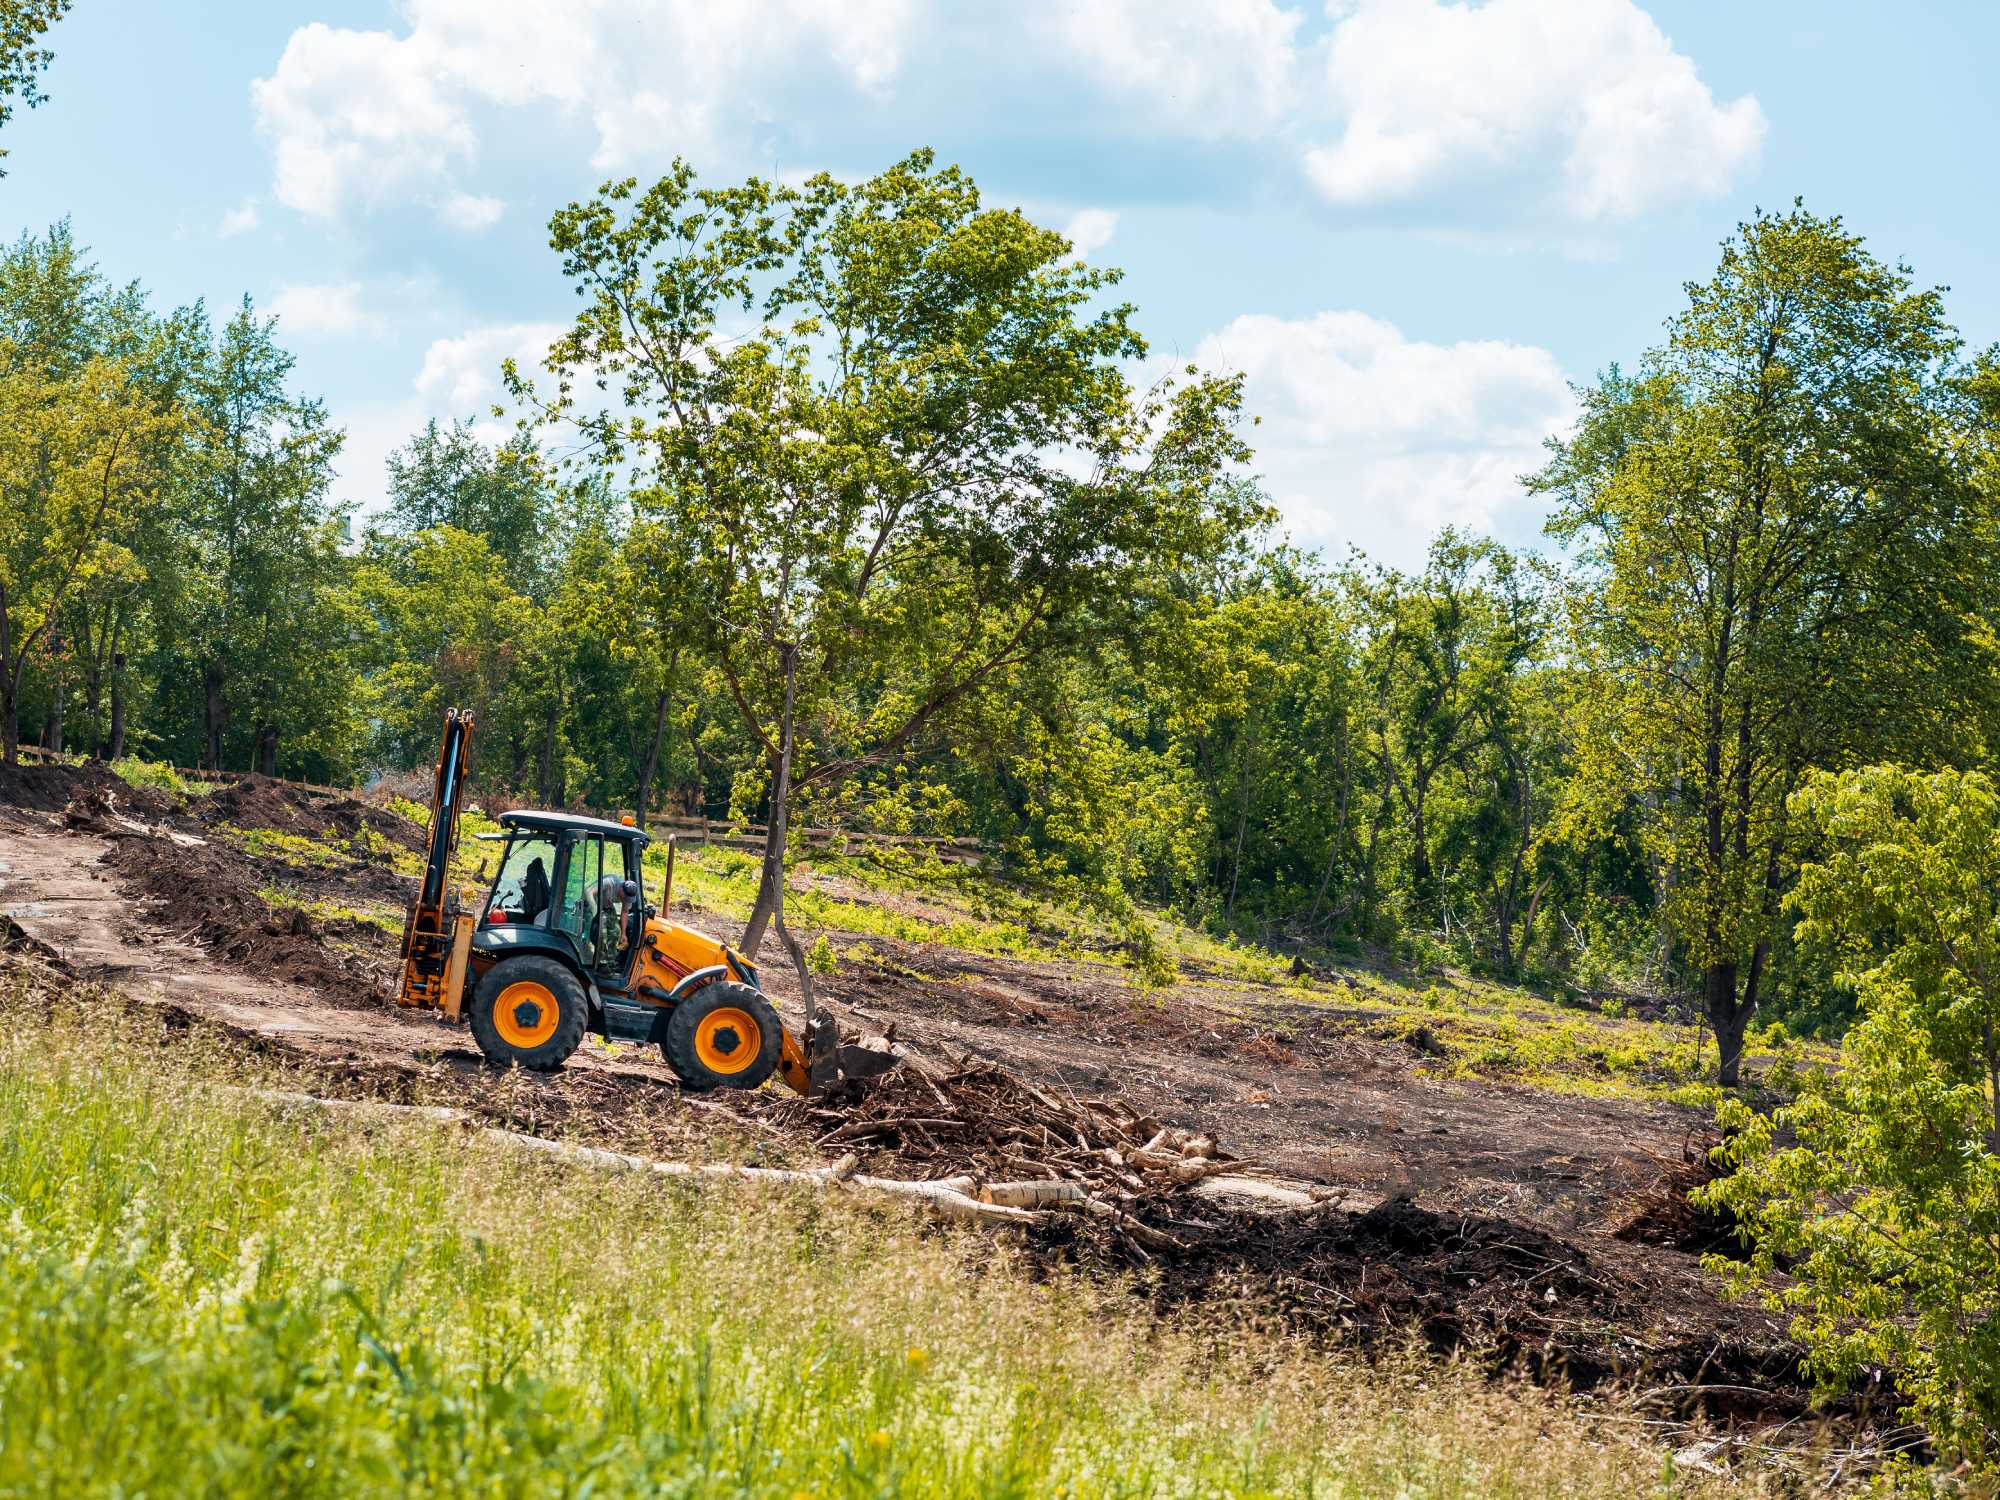
Best Tractor Attachments for Land Clearing Projects
Clear land like a pro with the best tractor attachments. Discover tools like grapple buckets, rotary cutters, and stump grinders to tackle any clearing project.
