Tag: hunting
-
Hog Hunt with Cold Steel
Hog Hunt with Cold Steel You might thing that the knife shown in the above photo was used for skinning the hog. In this case, that was the weapon used for the kill on a hog and knife hunt. When I first learned of an opportunity to take my daughter on a dog and knife…
-
What a Golf Cart Needs Before You Can Take It Hunting
Are you thinking of bringing a golf cart on your next hunting trip? Before you do, read our guide to what a golf cart needs before it’s ready to hunt!
-
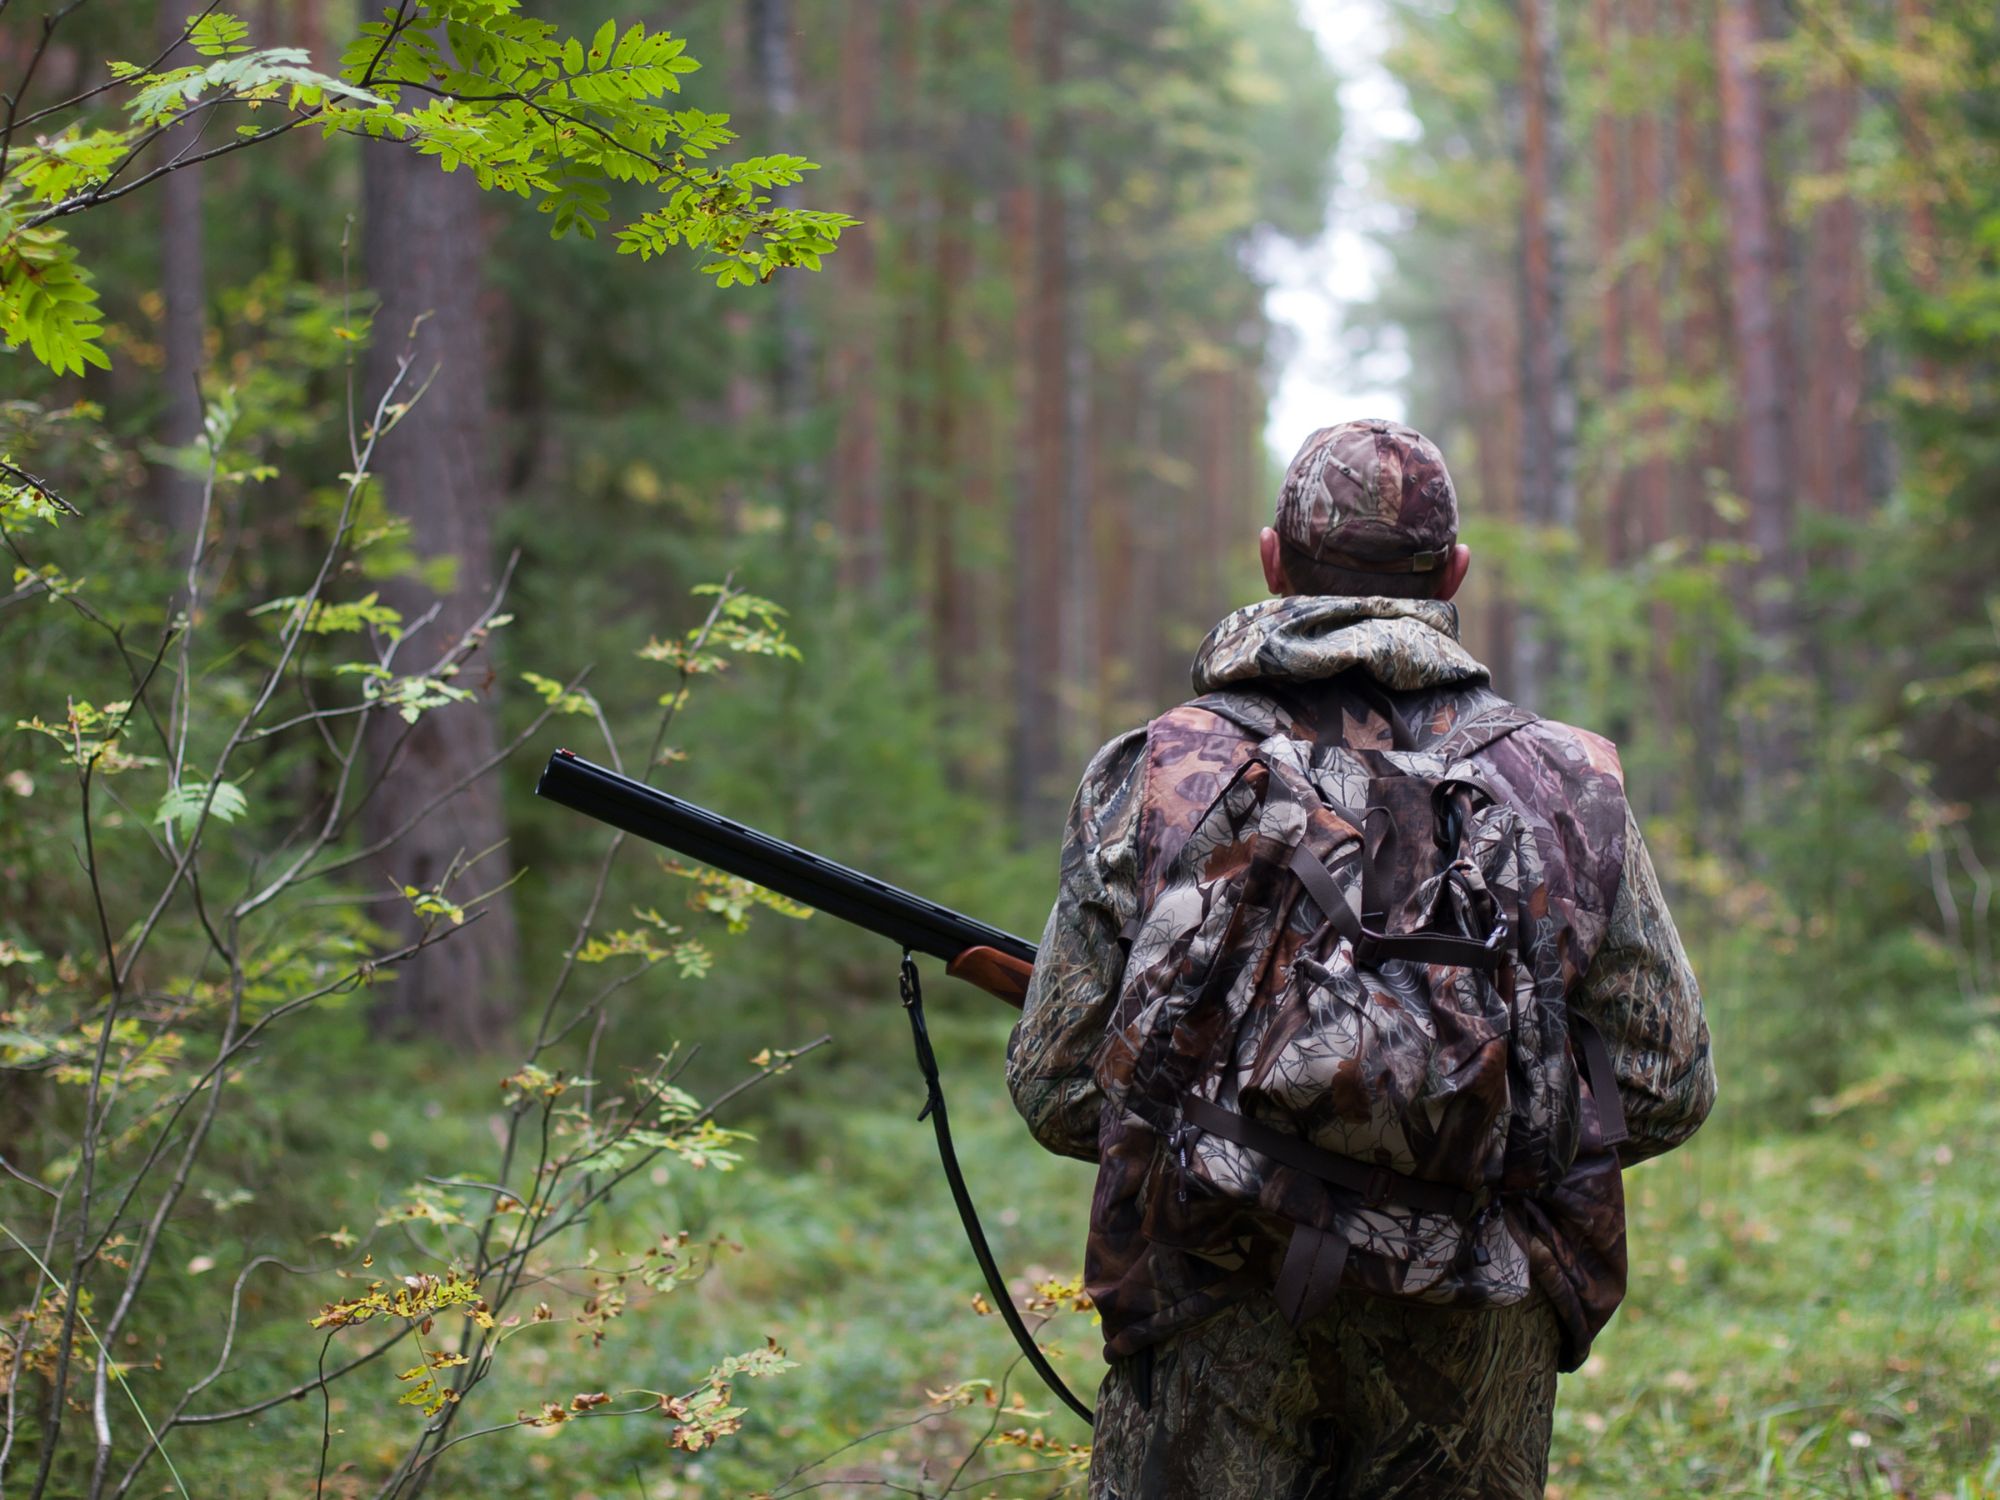
The Best Tactical Gear for Gun Lovers
In the world of gun enthusiasts, the importance of being prepared and equipped cannot be overstated. Whether you’re engaging in shooting sports, embarking on a hunting expedition, or simply spending time in the great outdoors, having the right gear can make all the difference. Dive into the best tactical gear for gun lovers to help…
-
Where Do I Start With Shooting As a Hobby?
Shooting can be an incredibly rewarding hobby. Refining your marksmanship skills and learning more about firearms can support other goals (like hunting or home defense). Still, no matter how you choose to employ your skills, shooting is an activity that consistently offers new challenges in fun environments. Not sure where to start shooting as a…
-

5 Tips for Hunting Day Trips With an Air Gun
Airguns are exploding in popularity around the country. From the gun’s precision to its relatively muted sound when fired, it’s the perfect alternative to a traditional rifle. The best part? You can use airguns as a hunting weapon. In fact, airguns are the ideal option for small game hunting because they are slightly less powerful…
-
How to Plan a Solo Hunting Trip
Group hunting trips can be a great bonding experience, but there’s no feeling that compares to the solitude of a solo hunting trip. It’s just you, the woods, and your instincts as a hunter. Going on a solo hunting trip does, however, require a bit of additional planning if you want to get the most…
-
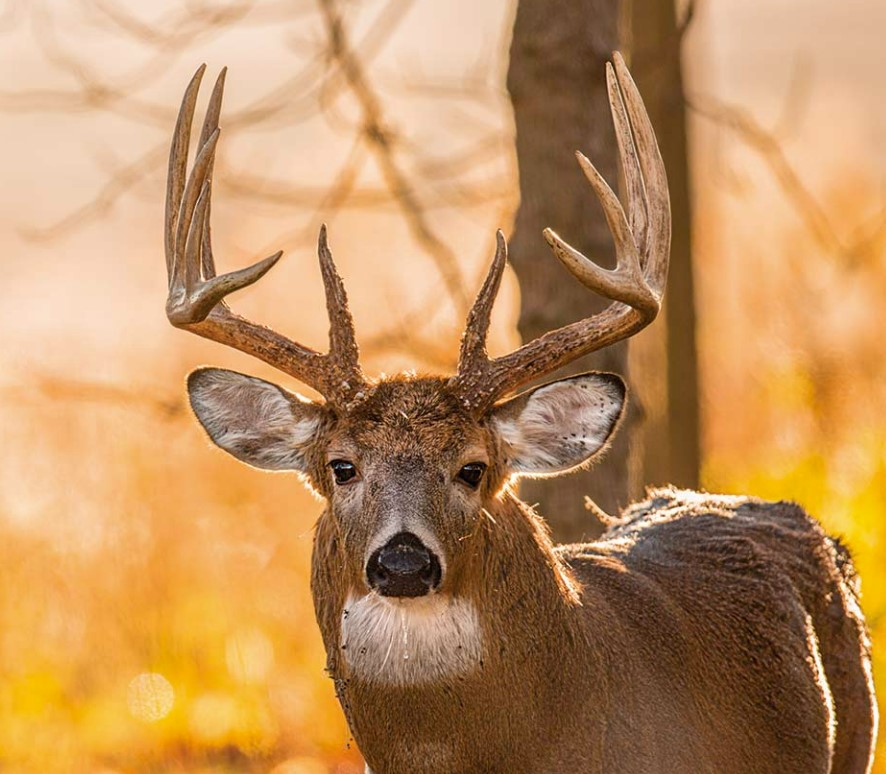
The 5 Best Tactics for Hunting Whitetail Deer
There’s something about whitetail deer that has hunters flocking to the woods every year. Perhaps it’s the thrill of being so close to such an elusive animal, or maybe it’s the natural beauty of the forest and wild life they inhabit. Whatever your reason, there are numerous tactics you can use to increase your chance…
-
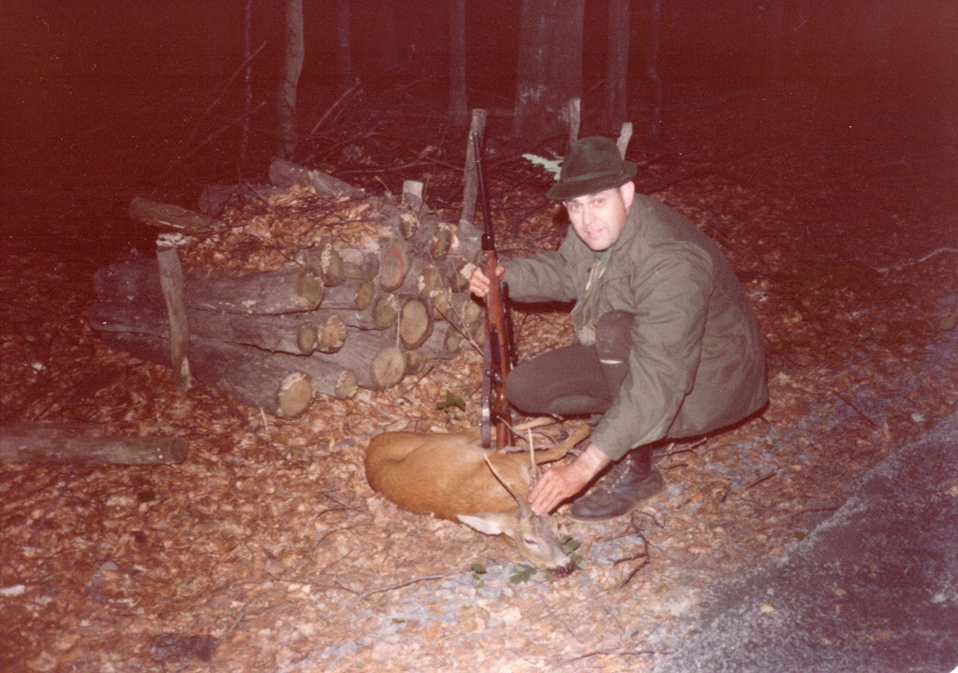
HUNTING REHBOCK (ROEBUCK) IN GERMANY
In late 1964, while stationed with the US Army in Schwaebisch Gmuend, Germany, I decided to complete the requirements for getting a German hunting license. In my job as German American Coordinator for the Armerican troops in Schwaebisch Gmuend, I met many of the German city and county officials in the area. One of these…
-
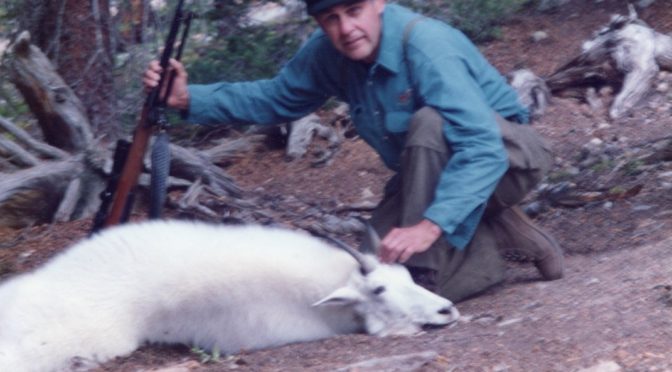
HUNTING ROCKY MOUNTAIN GOAT NEAR BUENA VISTA, COLORADO
In earlier articles I discussed my hunts for Rocky Mountain Bighorn Ram and Ewe on Pikes Peak. I mentioned that it is normally difficult to get drawn for a Ram license. After my successful sheep hunts, I decided to try my luck in the drawing for a Rocky Mountain Goat license, which was even more…
-
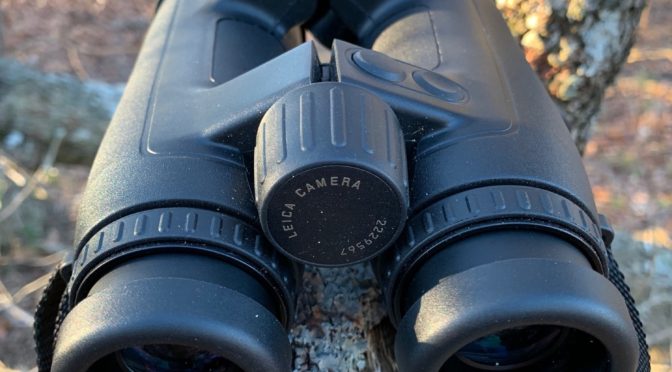
Leica Geovid 10×42 HD-B 3000 Review
Leica has deservedly earned a reputation for superior optics. The new Leica Geovid 10×42 HD-B 3000 binoculars uphold that fine tradition. I have had the opportunity to carry these for twenty-plus days deer hunting in South Texas and have been impressed with their performance. My experience was primarily glassing for deer out to 500 yards.…
-
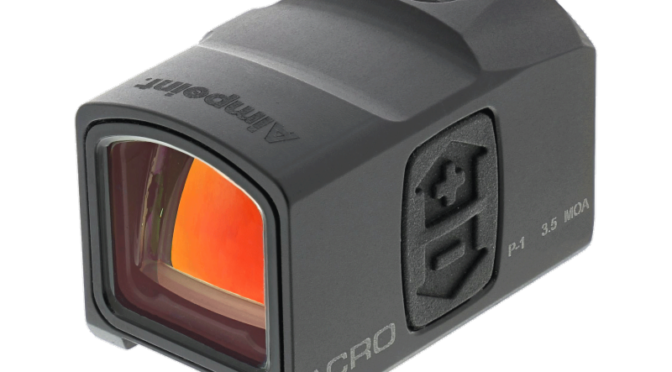
Aimpoint Announces The ACRO Series
Malmö, Sweden – June 2018 – Aimpoint, the originator and worldwide leader in red dot sighting technology, is proud to introduce their new line of red dot sights, the Aimpoint® ACRO™ (Advanced Compact Reflex Optic) Series. The unique small sight design of the Aimpoint® ACRO series electronic red-dot sight was developed for use on pistols…
-
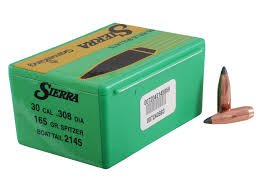
How to Choose Deer Hunting Bullets – Top 7 Deer Hunting Bullets
How to choose the best quality deer hunting bullets? It is the question many of the hunters want to know the answer of. In this guide, you will find the best bullet types that can boost the results of deer hunting. An Ideal deer hunting bullet should be accurate, fast, penetrating, and effective. The efficiency…
